Your costume looks great in the photo. Shrink it into a chat reply, though, and the face may disappear behind a huge hat or a dark cape. The useful Halloween sticker is the one friends can recognize without zooming in.
The short route: choose a well-lit costume portrait, remove its background with the free photo sticker maker, inspect the edges, and download the transparent PNG. Then create or import the sticker in the messaging app you actually use. You can keep the original costume without asking AI to redraw it.
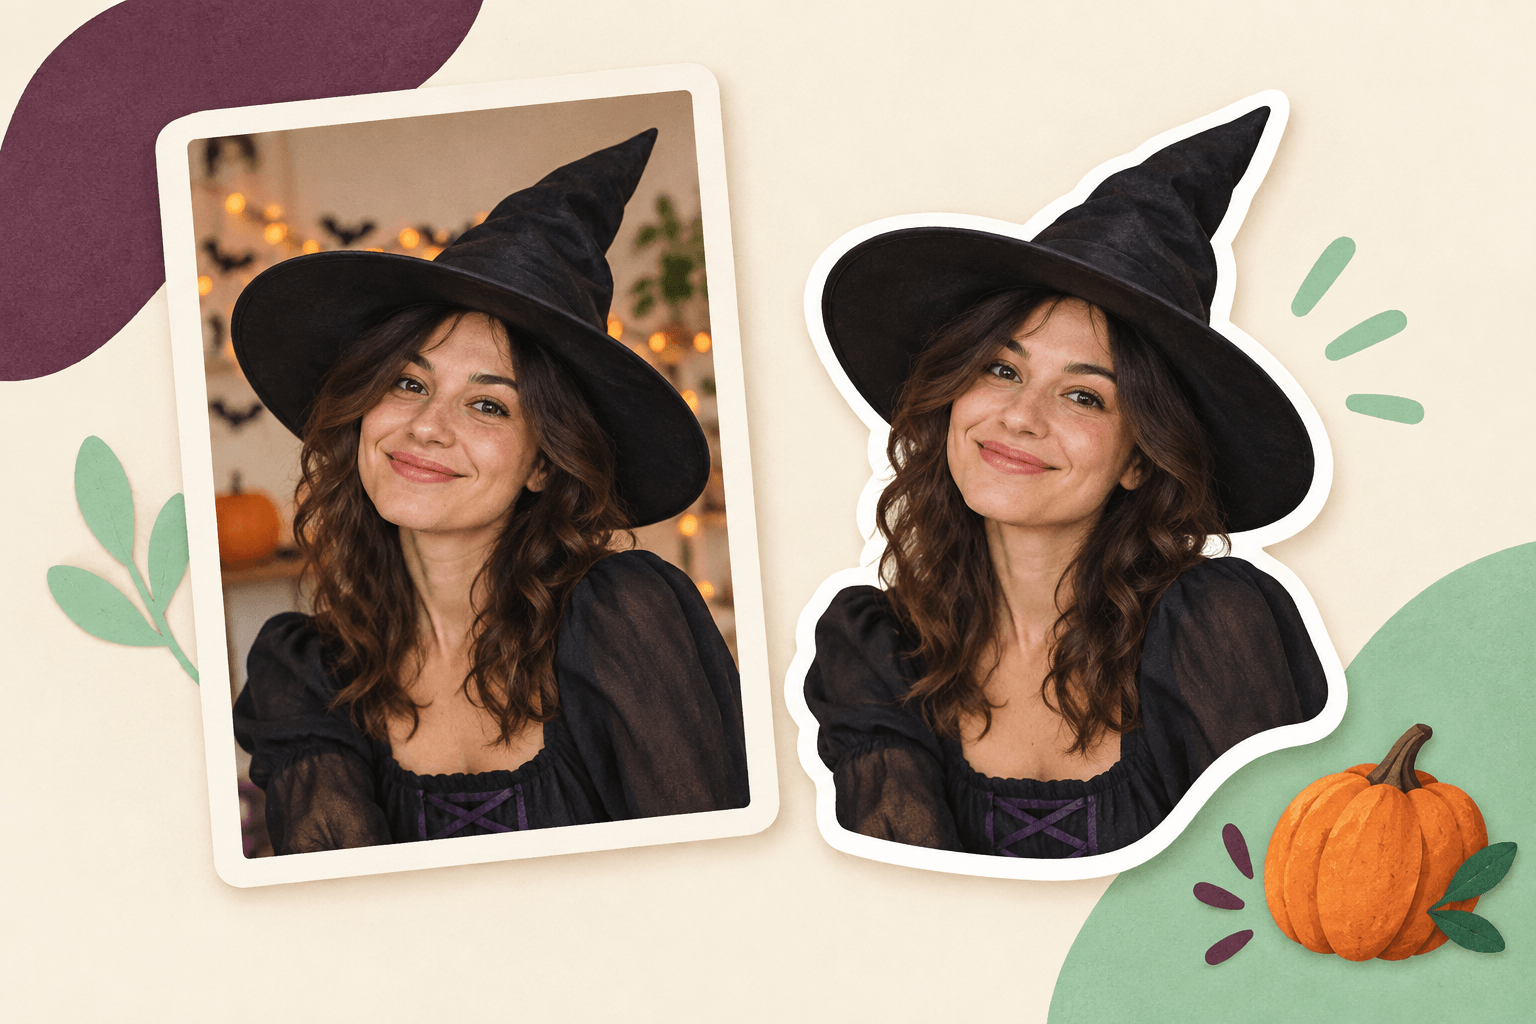
The cover is an AI-generated editorial illustration, not a screenshot or an example of an exported PhotoToSticker result.
Choose the photo for the reply you want to send
Before opening an editor, decide what this sticker should say. An exaggerated wave can mean “I'm here.” A surprised expression can answer a spooky photo. A pleased grin works after a successful costume reveal. These are ideas for choosing photos you already have, rather than promises that an editor will invent a new expression.
| Photo choice | What to keep visible | When to try another shot |
|---|---|---|
| Costume portrait | Face, hat, and a little space around the silhouette | The hat is already cut off in the original |
| Mask or dramatic makeup | The feature that makes the costume recognizable | Shadows hide the eyes or blur the design |
| Pet beside a Halloween prop | The animal's face and one simple visual cue | The prop takes up more space than the pet |
| Group costume | Every face you want readers to recognize | People become tiny when the image is reduced |
For a quick first sticker, a single subject is easier to assess than a whole party scene. Keep the original file. If you crop a copy before processing, leave room around the hat, hair, hands, or ears. A cutout tool cannot recover a prop that was outside the camera frame.
Make a transparent photo sticker in PhotoToSticker
1. Open the photo workflow
Open the PhotoToSticker studio and choose your costume photo. The free instant sticker keeps the photo's appearance and processes it in your browser; downloading that PNG does not require an account. The first run may need to load processing files, so allow it to finish before trying another image.
Use a photo with the costume already present. This path removes the background and adds a sticker outline. It does not dress an ordinary selfie as a witch, add a pumpkin, or change your expression. A generated cartoon pack is a separate workflow and can change visual details.
2. Check the parts an automatic cutout might miss
Look at the preview before adjusting the outline. Follow the hat point, glasses, loose sleeves, cape, and gaps between an arm and the body. You are checking whether the parts that explain the costume survived the cutout.
If detail is missing or background remains, open Refine edges. Its Erase tool removes leftover background; Restore brings back pixels from the original photo. Zoom in for small areas, use Pan to move around, then apply the edits. Restore cannot recreate something absent from the source.
For a dark cape against a dark room, a brighter source photo may be a better starting point than extensive corrections. Treat the preview as something to inspect, rather than a guarantee of perfect segmentation.
3. Fit the subject inside the square
Use Adjust size and position if the subject needs a different placement. Keep the face large enough to read while leaving the hat and hands inside the saved square. Enlarging or moving the subject can crop it.
Compare Thin, Standard, and Bold outlines at the size you expect to see in a conversation. A thicker line can help a dark costume stand out, but it can also close a small gap or overwhelm a tiny accessory. The white-border guide explains the distinction between an outline and a solid white background.
4. Download the PNG and inspect the actual file
Choose Download PNG and keep that file for the next step. Inspect it against both a light and a dark background. A white image-viewer canvas alone does not tell you whether the file is opaque.
The homepage instant workflow produces a 512 × 512 PNG. That is the starting file for this tutorial, not a promise that every chat application will accept it without further preparation. Check the destination's format and import requirements in the platform size and file guide.
Turn the saved image into a sticker you can reuse
Saving an image and installing a reusable sticker are different steps. Sending the PNG as a photo attachment may simply send a picture.
- WhatsApp: use the app's available sticker-creation flow or a suitable importer, and inspect its crop preview. Follow the device-specific WhatsApp sticker guide.
- Telegram: create a sticker with Telegram's editor or use its pack workflow. The Telegram guide covers the next steps without treating a ZIP as an installed pack.
- iPhone's own sticker collection: if you only need the original photo as a native sticker, supported iPhones also offer a built-in route. Apple's photo-sticker instructions describe selecting a subject in Photos and adding it to the sticker menu. This is a separate route, rather than automatic installation of a browser download.
Send one test sticker in the intended conversation before making more. Check that the face is readable, the costume is recognizable, and the saved sticker remains available in that app. Device and app behavior can differ.
Three costume-specific fixes worth checking
The witch hat disappears. Inspect the source first. If the whole hat is present, try restoring a small missed area. If it was cropped by the camera, choose another photo. Increasing the outline will not reconstruct it.
The cape becomes a dark blob. Try a closer crop that keeps the face and one defining accessory. If the source is poorly lit, use a brighter photo instead of expecting the sticker tool to recover detail that is not visible.
The group looks good full size but nobody is recognizable in chat. Keep the group image as a photo, or make separate stickers from clearer individual shots. A large source image does not make tiny faces readable automatically.
Quick answers before the party
Can I make the photo sticker without installing an app?
Yes. You can create and download the instant PNG in your browser. Adding it to a messaging app's reusable sticker collection is a separate step and may require that app's own editor or an importer.
Does this change my photo into a Halloween costume?
No. Start with a costume photo for the photo-preserving workflow. AI cartoon generation is separate; do not assume it will preserve every small costume detail.
Can I print this PNG on treat-bag labels?
You can prepare a print design from an image, but physical size and source resolution matter. A 512px chat-oriented export is not automatically suitable for a large print. Start with the print preparation guide before choosing dimensions or sending a file to a printer.
Choose one clear photo and make one sticker first. Once that result works in your actual chat, repeat with another useful pose. Open the photo sticker maker to start with the costume you already photographed.