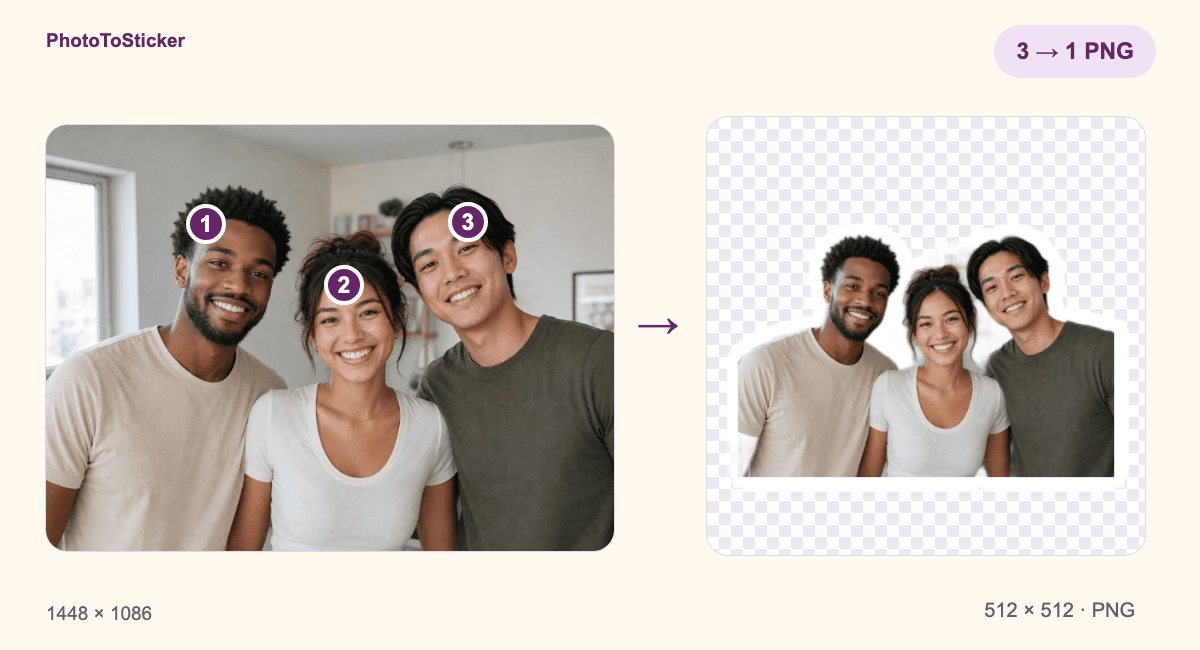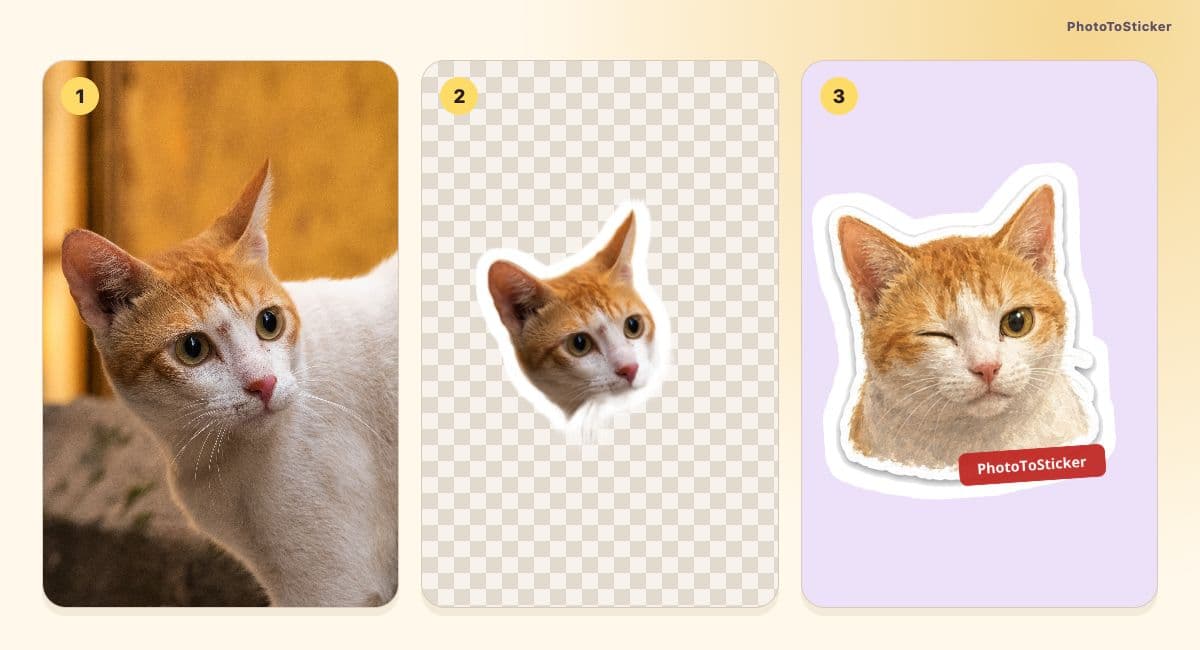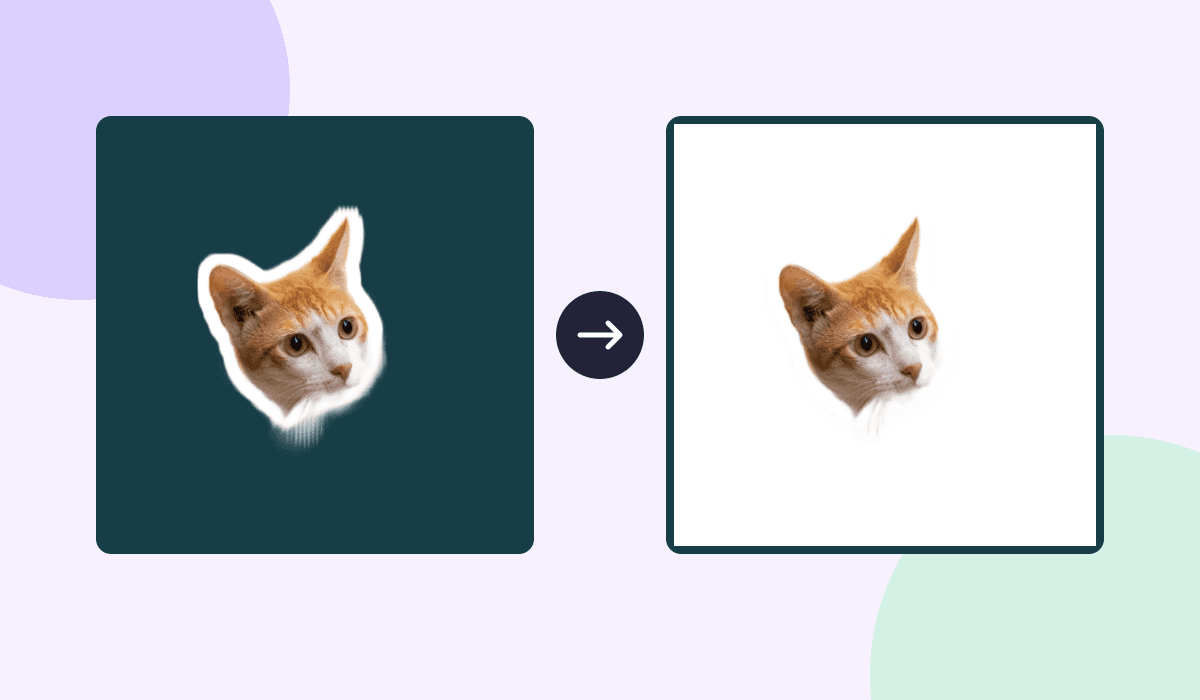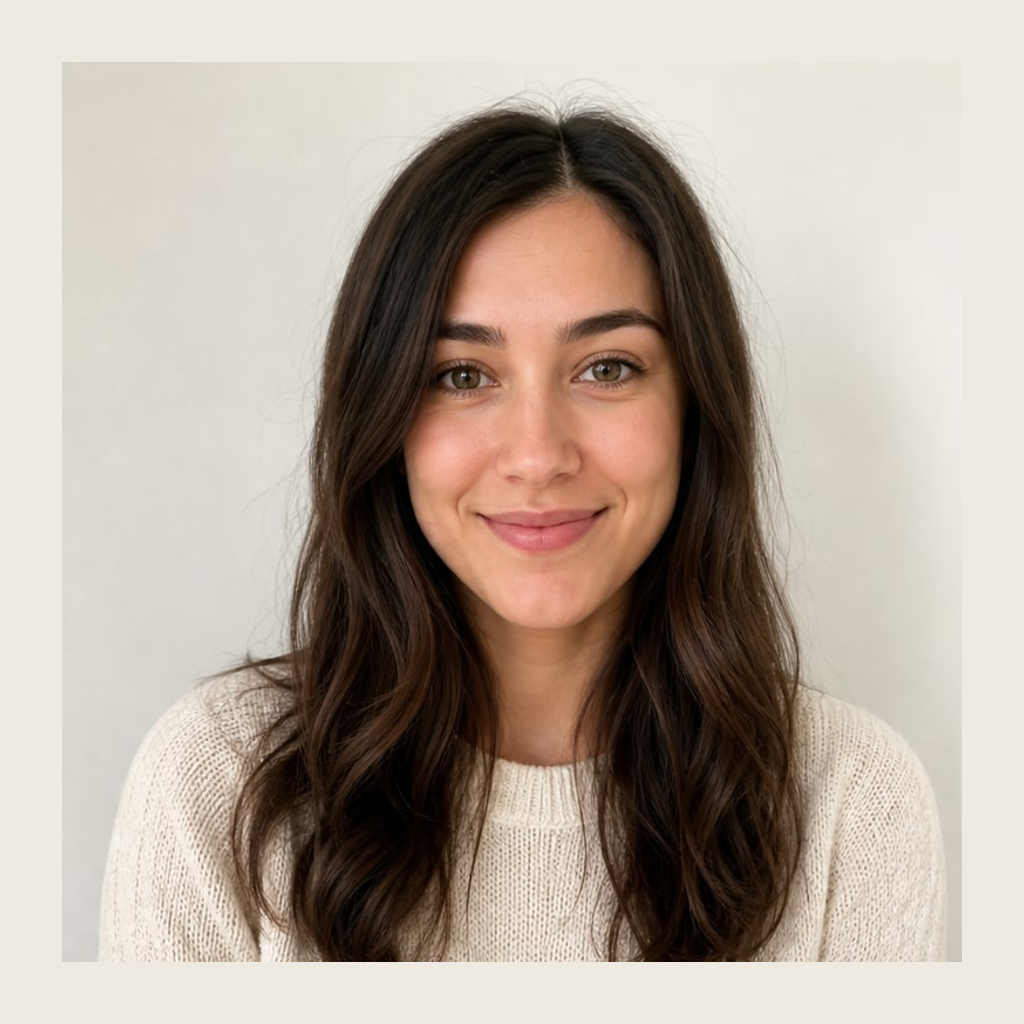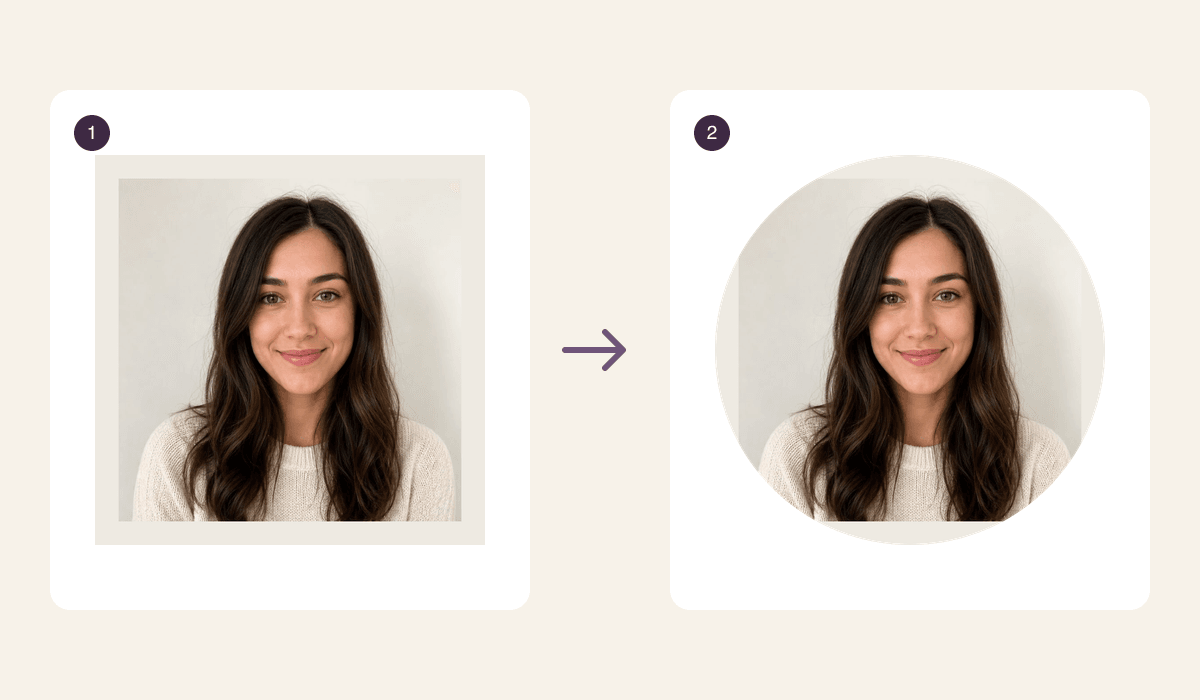
If your profile picture looks fine as a square but loses hair or part of your face after upload, check the destination's circular preview. The circle hides the corners. Move the face toward the middle and reduce the zoom until the details you want are inside the visible area.
Start from the original photo or downloaded avatar. Repeatedly saving a screenshot of the cropped result leaves you less room to adjust it.
Check where the missing detail disappears
Compare the saved square with the account's preview. If hair is already missing from the square, go back to a wider original. If it disappears only in the circle, change the framing. More export pixels cannot bring a hidden corner into view.
You do not need one fixed margin percentage. Different portraits have different hair, hats and poses, and the destination can add its own border or badge. Watch the parts that matter: both eyes, the chin, and any hairstyle or accessory you want people to recognize.
| What you see | What to try first |
|---|---|
| Detail is missing from the square itself | Choose an earlier, wider source. |
| The square is complete but the circle clips the face | Recenter and zoom out in the crop preview. |
| The whole face fits but looks tiny | Move a little closer, then check the circle again. |
| The crop looks right but the face is blurry | Use a clearer source instead of enlarging a screenshot. |
Compare the same portrait two ways
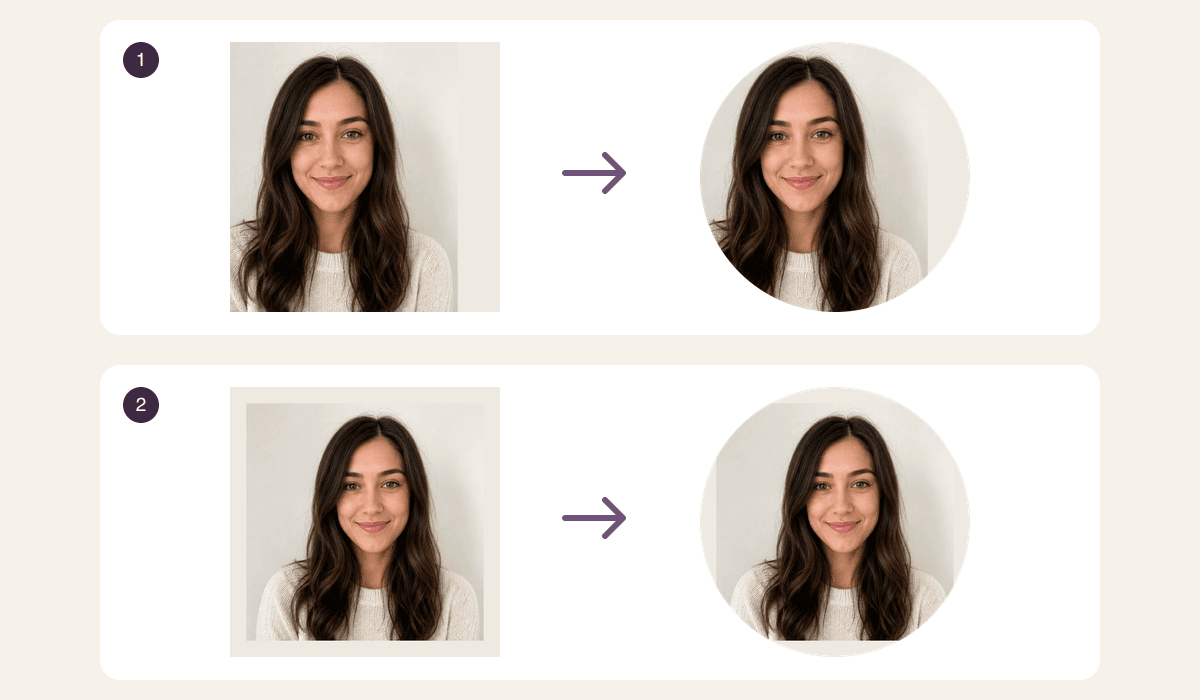
Original composition diagram made from an existing permitted demo photo. Row 1 leaves less room on the left; the circle hides some hair and shoulder. Row 2 centers the portrait with more space. These are geometric previews, not screenshots from an app or new Avatar Maker results.
For a club member profile, the second framing leaves room around the head without shrinking the person to a distant figure. In your own photo, compare the outline of the head first, then look at the face at a small display size.
Open the square teaching example and round preview of that same square. Both are 1024 × 1024 PNG files. The second file has transparent corners; its canvas is still square. The matching interior pixels are unchanged. A circular PNG is useful when a design needs transparent corners, but it does not force an account service to use your chosen crop.
Choose your photo or illustrated portrait
For an existing photo, use your photo editor's square crop or the destination's crop controls. Keep an editable original. Center the face by its visible features rather than the whole background, then leave room for hair and chin.
If you want an illustrated version, Avatar Maker uses one permitted portrait to generate four styles: Anime, 3D, Cartoon and Illustration. It provides four separate 1024 × 1024 PNG downloads. Generation sends the portrait to the server when you choose Generate; this page does not offer a circle crop control or publish to your social accounts.
Compare the downloaded candidates for identity and framing before choosing one. If you are deciding whether to preserve a photograph or create an illustration, the photo-versus-AI guide explains that distinction using a pet example. A group picture needs a different composition from one face; see the group-photo framing guide.
Check the destination before you save
- Select the square source and open the account's crop preview.
- Adjust position and zoom. Keep important features away from the curved edge.
- View the result at a small size, such as a 40-pixel preview, as an extra readability check. That is a viewing example, not an upload requirement.
- Confirm the destination's current format and size rules, then save and review the visible profile.
For example, Google's official profile-picture instructions include rotating and cropping before saving. Follow the controls available in the service you use; there is no universal upload size or identical crop screen.
Avoid adding a decorative ring until the face fits. A ring or tiny text near the corners can be clipped just like hair. Keep the square master so a later profile change starts from the full image.