A group sticker only works when the people who matter to the joke are still easy to see. Start by checking every intended face, including the people at both edges of the photo. Then decide whether the result should be one image of the group or a separate sticker for each person.
For one combined sticker, keep enough room around the outer heads and shoulders, process the photo, and review the result before sharing it. Automatic background removal can retain the faces while leaving unwanted background behind. Enlarging the preview does not recover someone already missing from the source.
Choose the group before choosing the crop
Open the source photo at a comfortable size and look from left to right. Can you see each whole face? Is anyone hidden behind another person, blurred, or pressed against the edge? Check hair and glasses as well as the middle of the image.
Shoulders touching is not automatically a problem. What matters is whether you can distinguish the people you want in the sticker. A different shot can be more useful than a tighter crop when someone is obscured. Canva’s group-photography guide also emphasizes checking that faces are unobstructed.
Use a photo you have permission to use, and agree with the people pictured about sharing it. Choose the image for the intended conversation rather than treating any group photograph as a ready-made public pack.
Inspect a real three-person example
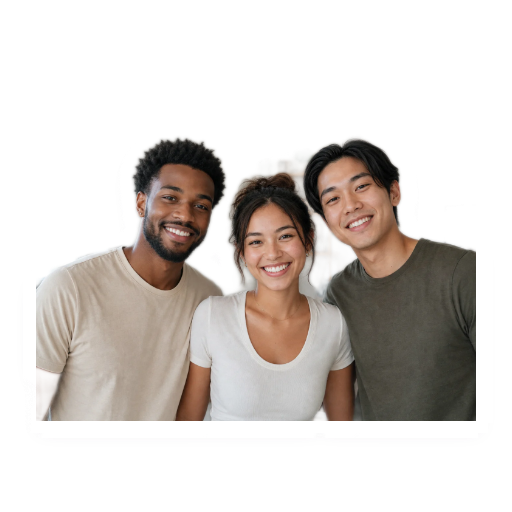
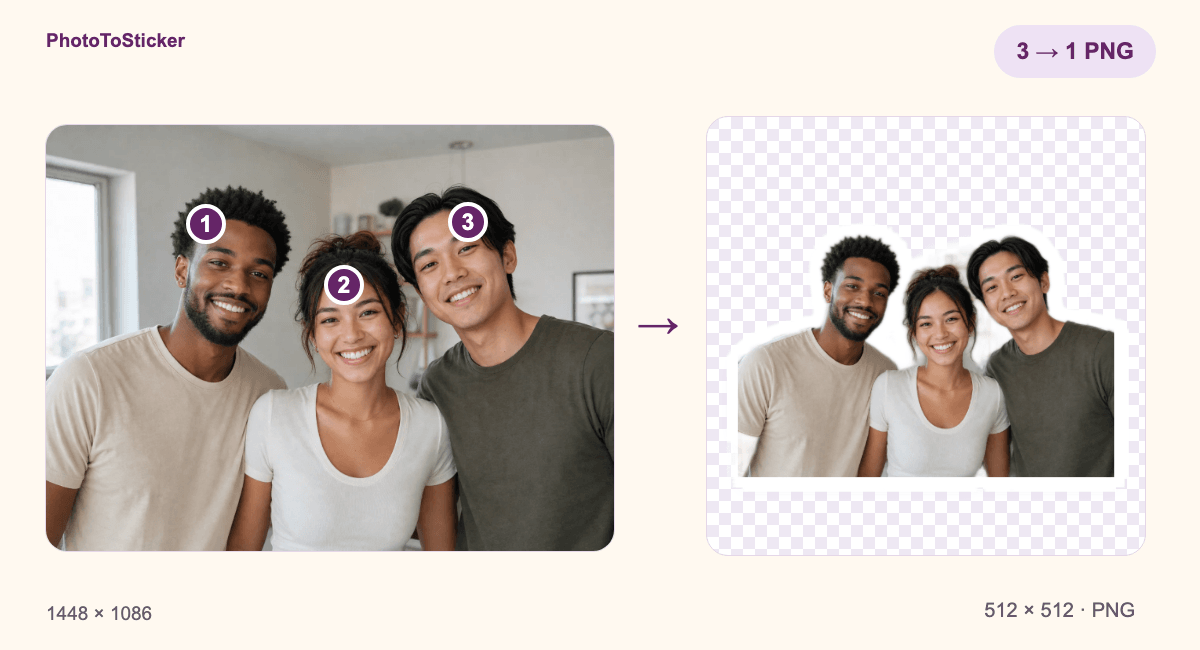
The comparison below uses PhotoToSticker’s existing group demo image and a PNG downloaded from the browser-local photo workflow on November 4, 2026. All three faces remain visible in this particular file. That is an observation about this example, not a guarantee for every group photo.
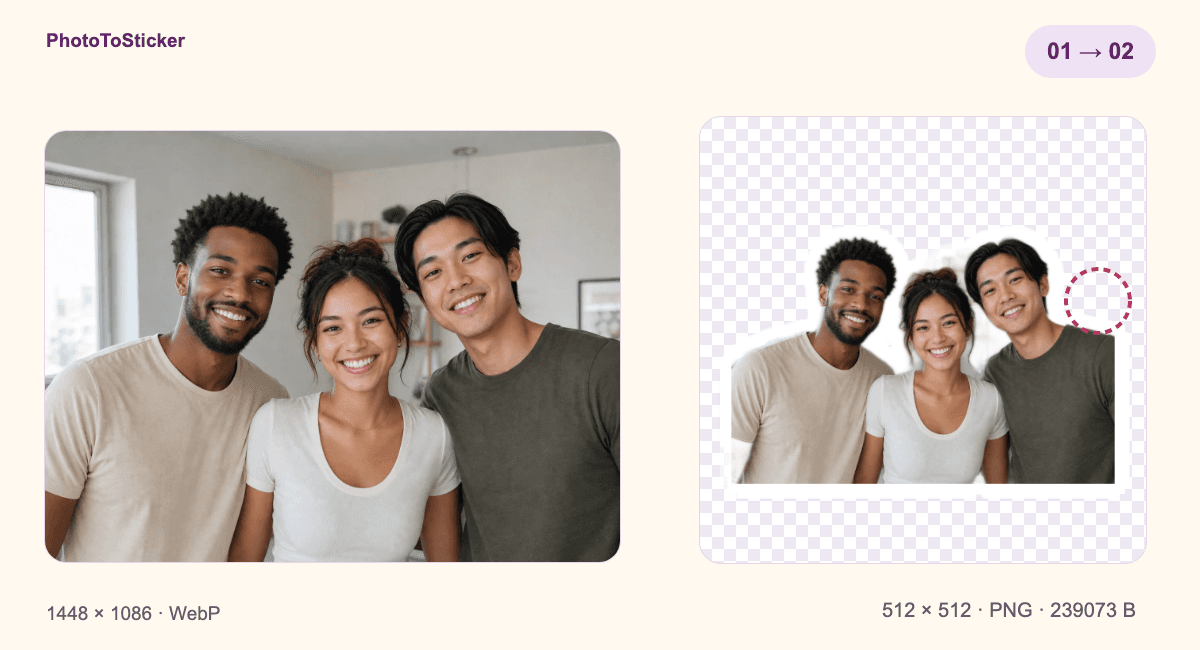
Original explanatory layout using the unchanged source and downloaded output. The right side still has light, striped background remnants near the head and shoulder; thin colored pixels also remain near the bottom. No manual cleanup has been applied.
Open the actual automatic PNG to inspect it yourself. It is 512 × 512 pixels and 239,073 bytes, with transparency. It contains one image of the three people together. It is not three individual portraits or a newly generated set of AI reactions.
The original group demo image is an existing site asset. We are not presenting it as a newly photographed event or attributing it to an unverified photographer. The visible mask remnants are a reason to inspect the export, even when the face count looks right.
Make one group sticker in the photo studio
Open the photo sticker studio. You can choose your own suitable image or try the Groups sample used here.
- Wait for local processing and look at the instant PNG preview. First use may download processing resources; this photo-first layer does not upload the photo for AI generation.
- Check the people on the left and right before adjusting the central person. Make sure the outline has not obscured a face or joined an unwanted patch of background.
- Use Refine edges when the mask needs attention. Its Erase and Restore controls let you remove remnants or recover detail from the original. Zoom and pan to inspect your work before applying it. These are available controls; the sample above remains the automatic output.
- Review Size and position together. The saved result is limited to the square canvas. Enlarging or moving the cutout can push an outer person outside it; Reset composition returns the original fit.
- Download the PNG, open that file, and check it again. A preview of an earlier version is not a substitute for the file you intend to send.
This local PNG workflow does not require sign-in. Requesting a sixteen-reaction AI pack is a separate, signed-in remote-generation step. We did not run that step for this article, and an illustrated redraw should be reviewed for changed or missing people rather than assumed to preserve everyone’s identity.
Review faces, framing and edges separately
Look once at a useful working size and once at a smaller conversation-like size. Our 128 px example is a reading check, not an app’s upload specification. Do not enlarge the file just to make one person easier to see if that cuts someone else out.
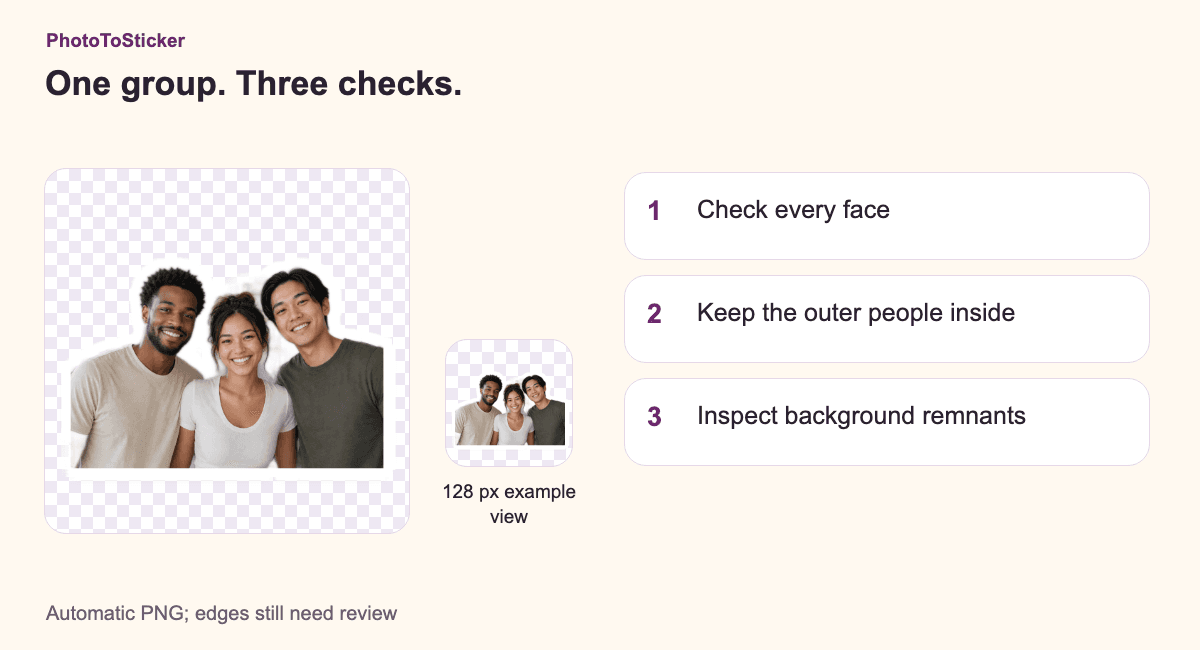
An original inspection diagram. The smaller view uses the same PNG; it is not a screenshot of a messaging app or a cleaned-up result.
| What looks wrong | What to check first | Useful next step |
|---|---|---|
| An outer person disappears after zooming | The square canvas and position | Reduce the composition size or reset its fit. |
| A person was already cut off in the original | The source photo | Pick another frame or a separate portrait. |
| Faces are present but background remains | The cutout edges on light and dark surfaces | Review the mask and use local edge controls carefully. |
| An AI redraw changes a person | The generated image against the original | Review that result; a local photo cutout and an AI redraw are different outputs. |
Common questions about group stickers
Can I get one file for each person automatically?
This workflow downloads one combined group PNG. If you want individual stickers, prepare separate source copies or portraits in a suitable photo editor and process each intended subject. It does not automatically split the photo into a file per face or combine unrelated uploads into a new group photograph.
Will a larger export fix a tiny or blurred face?
More output pixels cannot recover detail that the source does not contain. Choose a clearer, closer source before trying to solve the problem through enlargement. There is no universal face-count or face-width threshold that guarantees a good result.
Is the transparent PNG ready for every chat app?
Not automatically. A downloaded image still needs the destination’s supported import route and file checks. Continue with the platform format guide, or the native WhatsApp and Telegram instructions for your task.
Begin with the people who should be in the conversation. Open the studio, keep them inside the frame, and inspect the edges before you share the file.