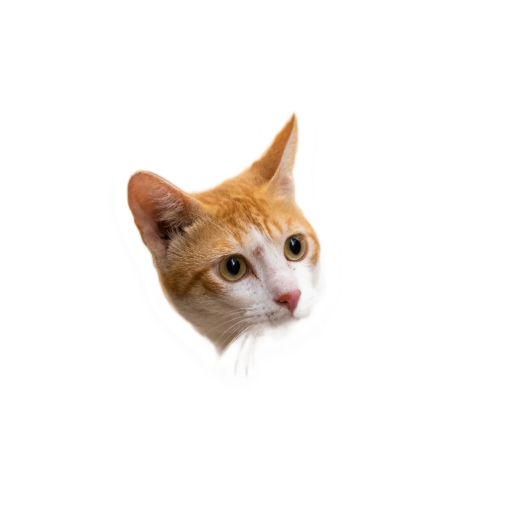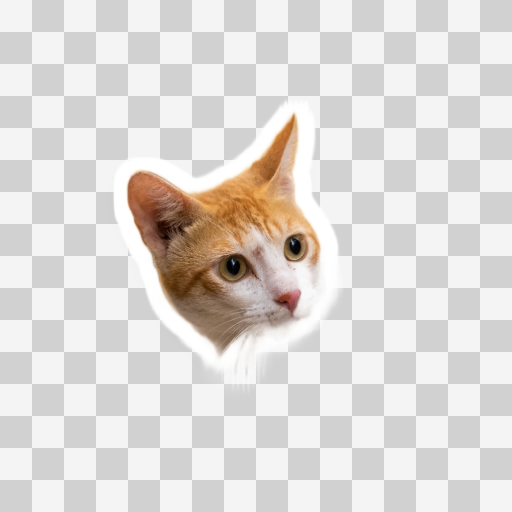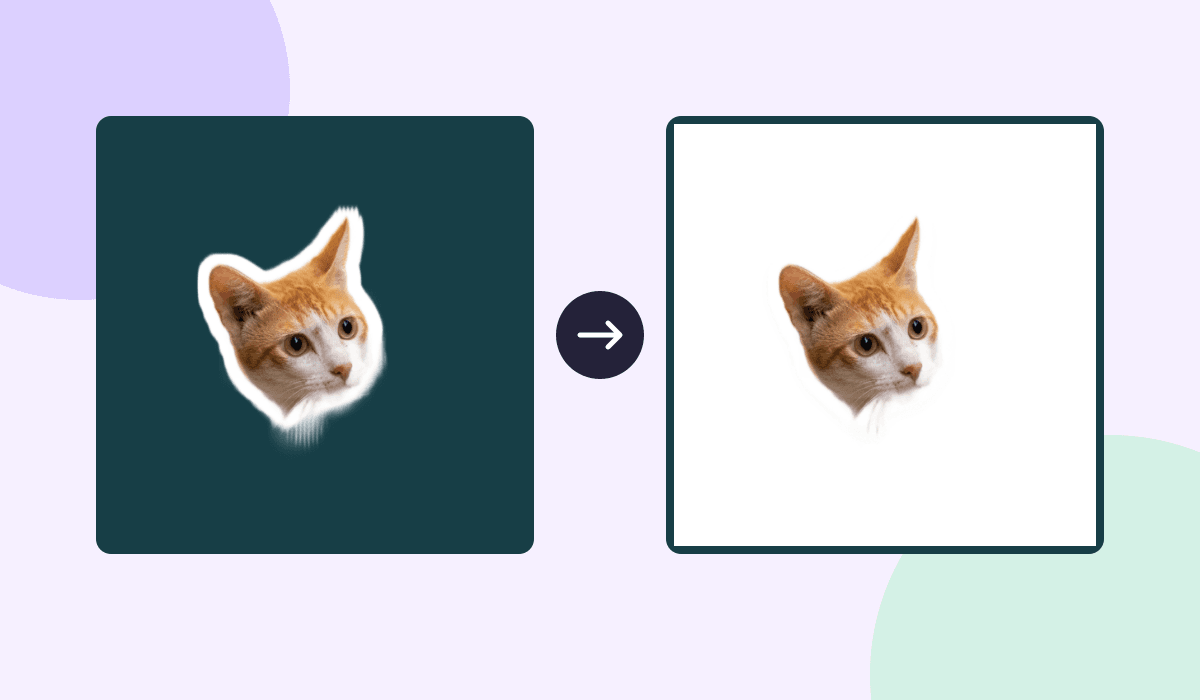
A white preview can be the viewer's background or white pixels saved in the sticker. Place the same downloaded PNG over white and dark teal. If the area around the subject changes with the surface, that area is transparent. If a white square or gray grid stays attached to it, those pixels are in the file. Then check the actual file, not a screenshot of the preview.
Compare the same cat on two surfaces
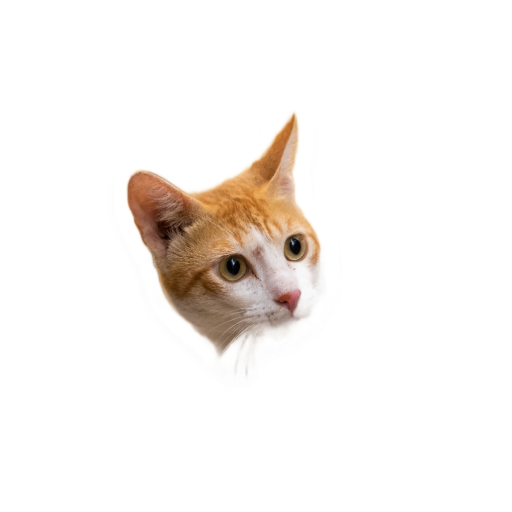
The three downloads below contain the same cat and have the same 512 × 512 pixel dimensions. At first glance, A and B look almost identical on a white slide. On a dark slide, one lets the color show through and the other brings its own white square.
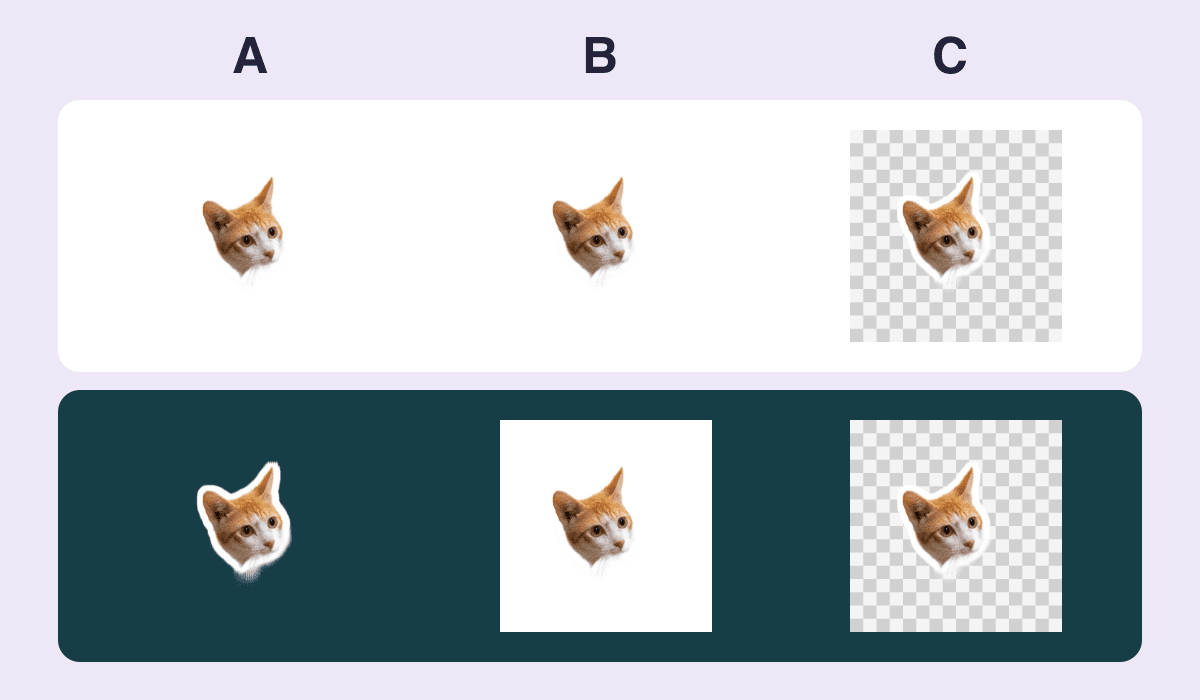
Original comparison rendered from the three downloadable files. A is an unchanged PhotoToSticker cutout from an earlier example. B and C are deliberately flattened copies for this test; they are not failed exports from the tool.
| Try this PNG | On the dark surface | What the file contains |
|---|---|---|
| A: transparent cat | Teal shows around the outline | Clear and partly transparent pixels |
| B: cat on white | White square remains | Opaque pixels across the square |
| C: cat with grid | Gray grid remains | Opaque checkerboard pixels |
Notice the narrow white edge on A. It follows the cat and leaves empty space outside it. That edge is part of the art; it is different from the white square in B. Inspect the space outside the silhouette before deciding which white pixels to change.
Check the exact file you plan to use
- Save the original download in Files or a folder. Skip the thumbnail, pasted preview and screen capture.
- In a design editor that lets you set the canvas color, put the PNG above a white layer and then above a dark layer. Keep the image layer unchanged. If a gray grid stays inside its bounds on both, the grid is in the image.
- Open the sticker file checker. Choose the saved file from your device. The checker reads it in the browser and displays its dimensions and transparency result. With these samples, A shows Transparent background detected; B and C show No transparent pixels detected.
The checker does not change the file. It flags any decoded pixel that is less than fully opaque. One such pixel can trigger the positive result even if the rest of the background is still there. Look around the perimeter and inside gaps, such as the space inside a loop or between two paws, before sending the sticker.
Fix the first copy that goes wrong
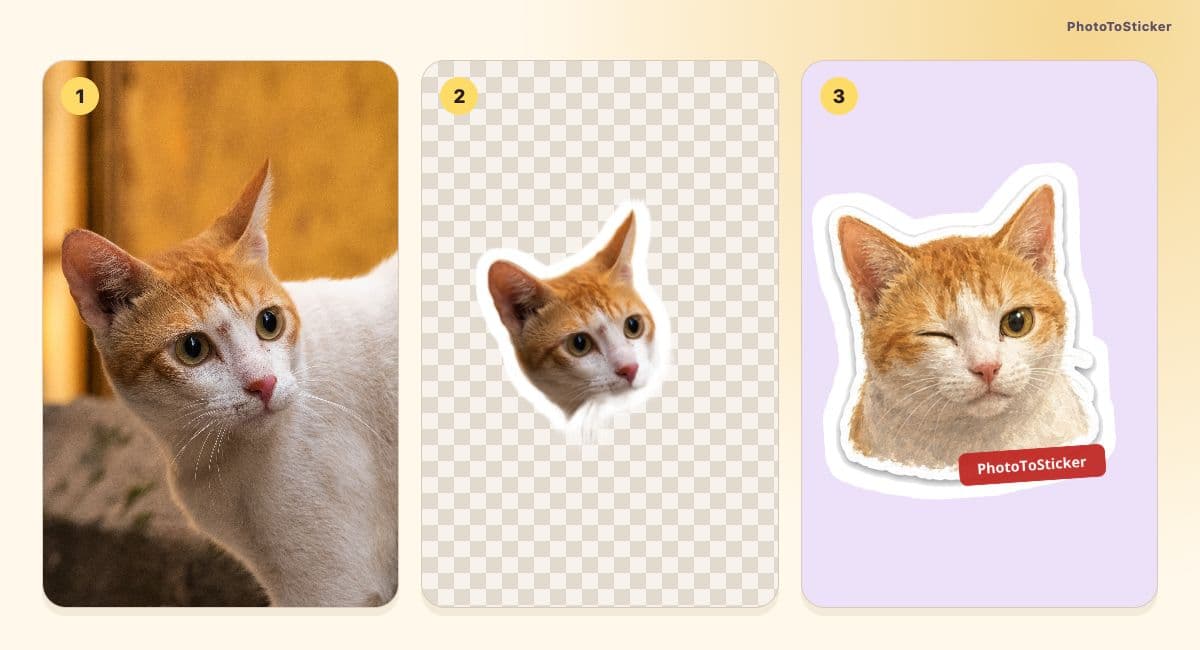
If the original is opaque, go back to the layered artwork. Hide the backdrop, export a new PNG with transparency, then reopen that file and repeat the test. If all you have is a flattened preview, look for the original download or make a fresh cutout from a photo you can use. The real cat cutout example shows what that workflow preserves and where fine fur can still be lost.
If the original is transparent but the received copy is opaque, check the exact file saved at the destination. A screenshot or an export that merges the image with its backdrop can flatten the artwork. Try transferring the original as a file and check the received copy again before changing the edge or redrawing anything.
Does saving it as PNG restore the clear areas?
No. The PNG specification supports transparency, but converting or renaming a flattened picture does not tell an editor which pixels to make clear. Avoid erasing every white pixel: the cat's fur, eyes or a deliberate outline may need to stay. Once the background and edge look right, check the other requirements for the place you will use the sticker. A transparency result is one part of that decision.