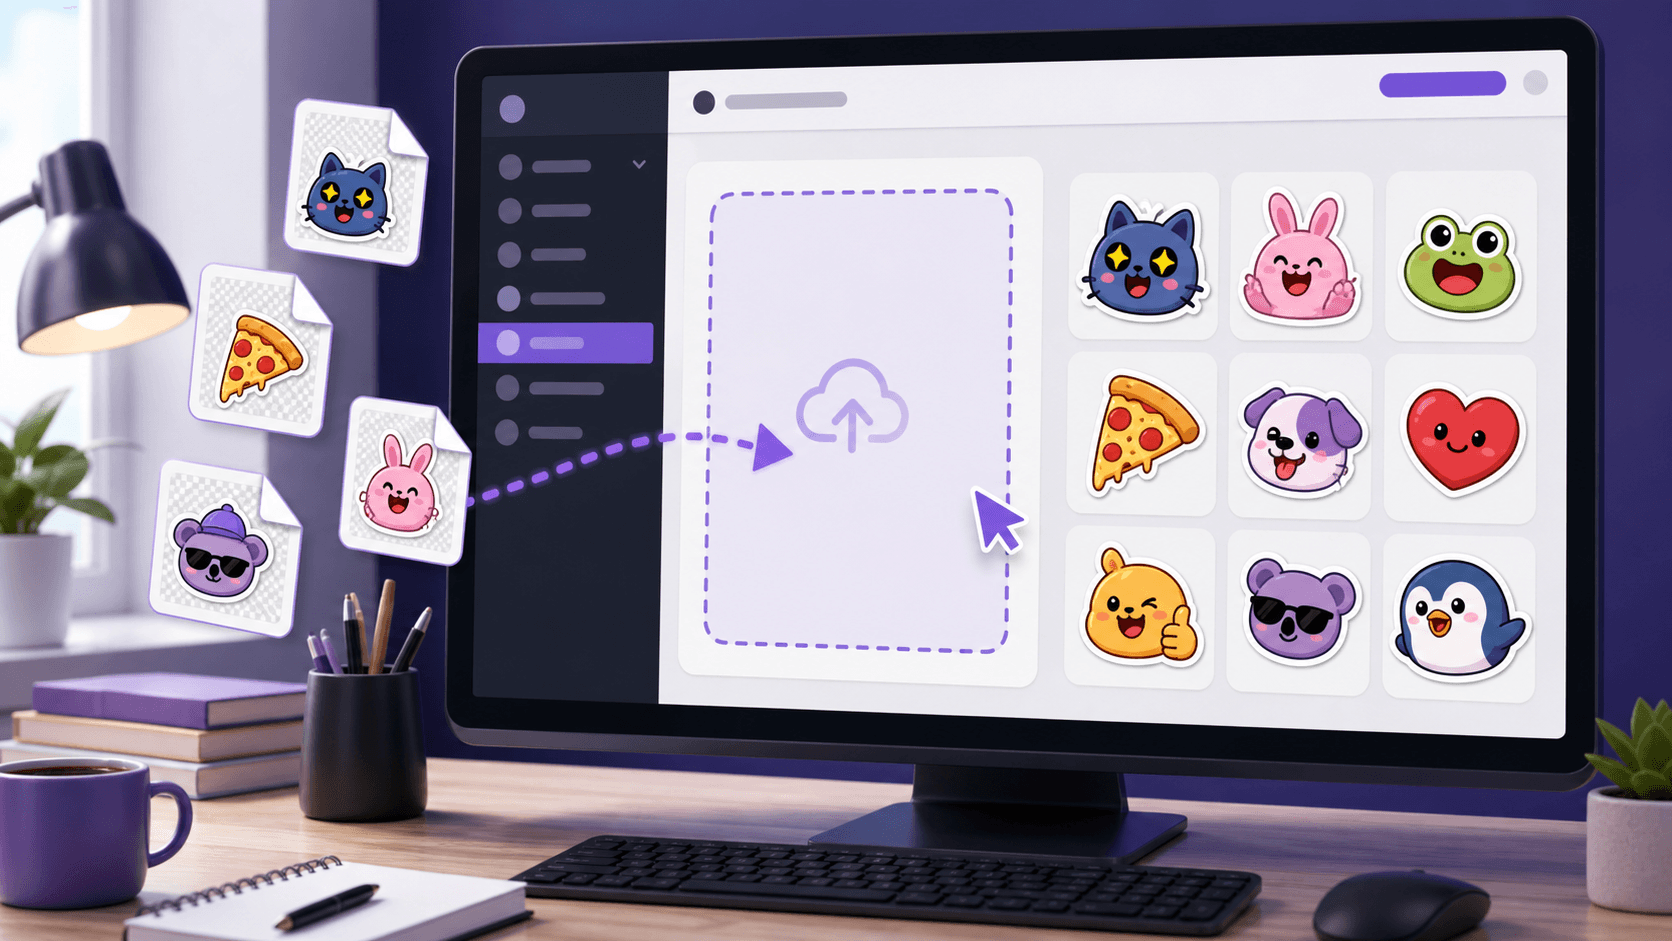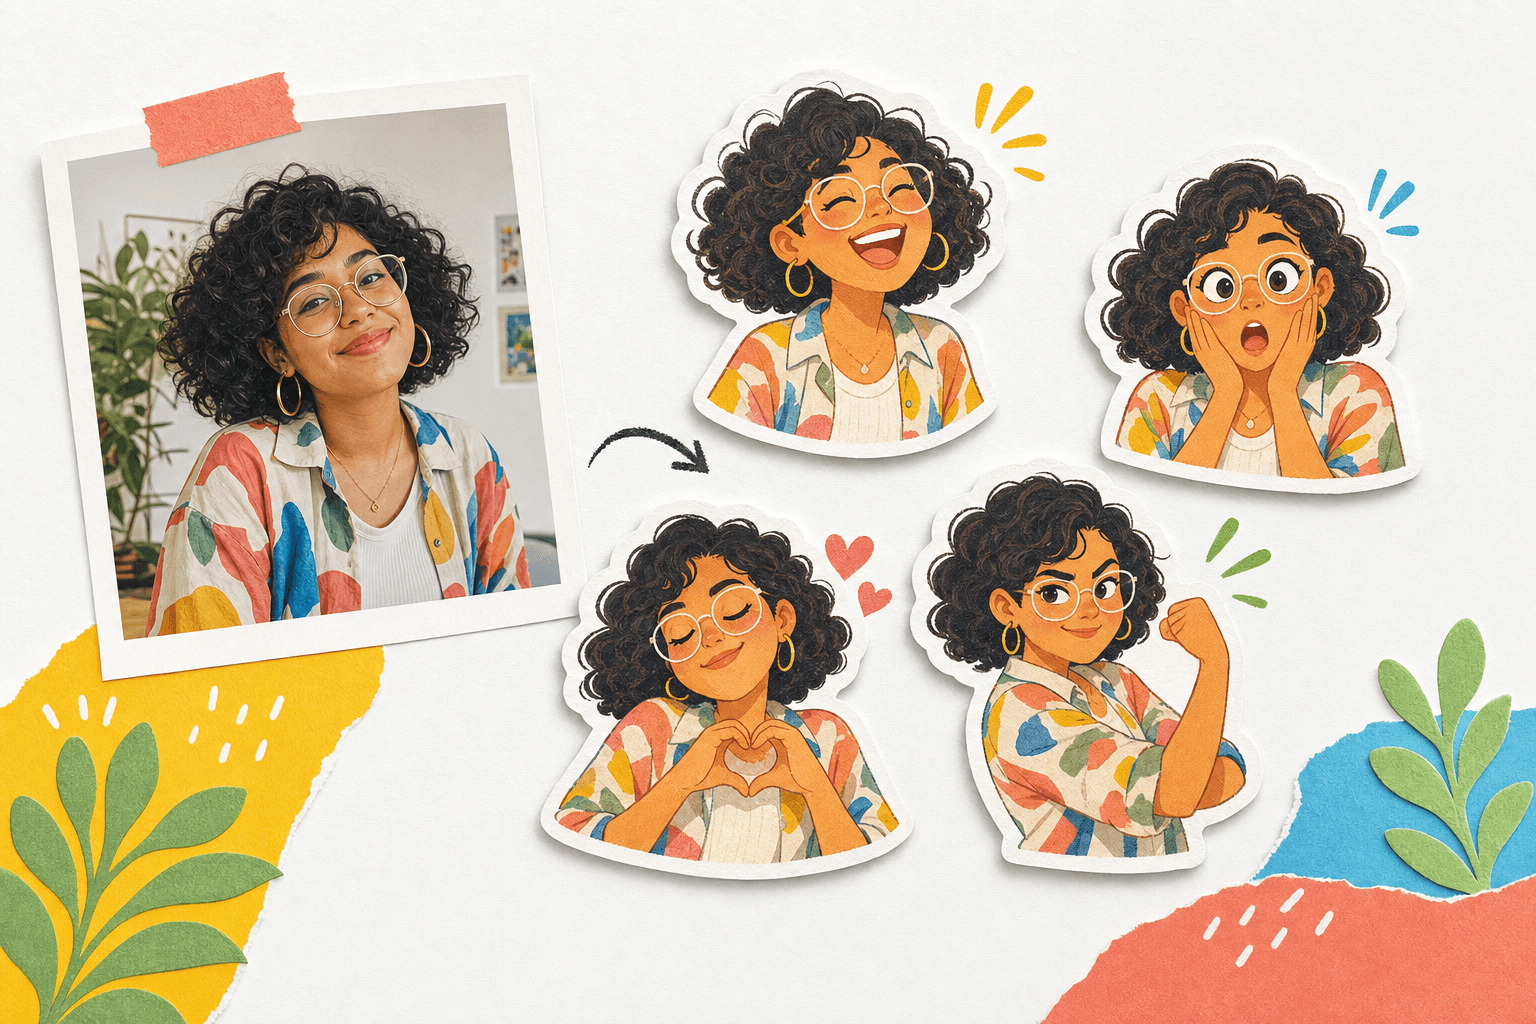
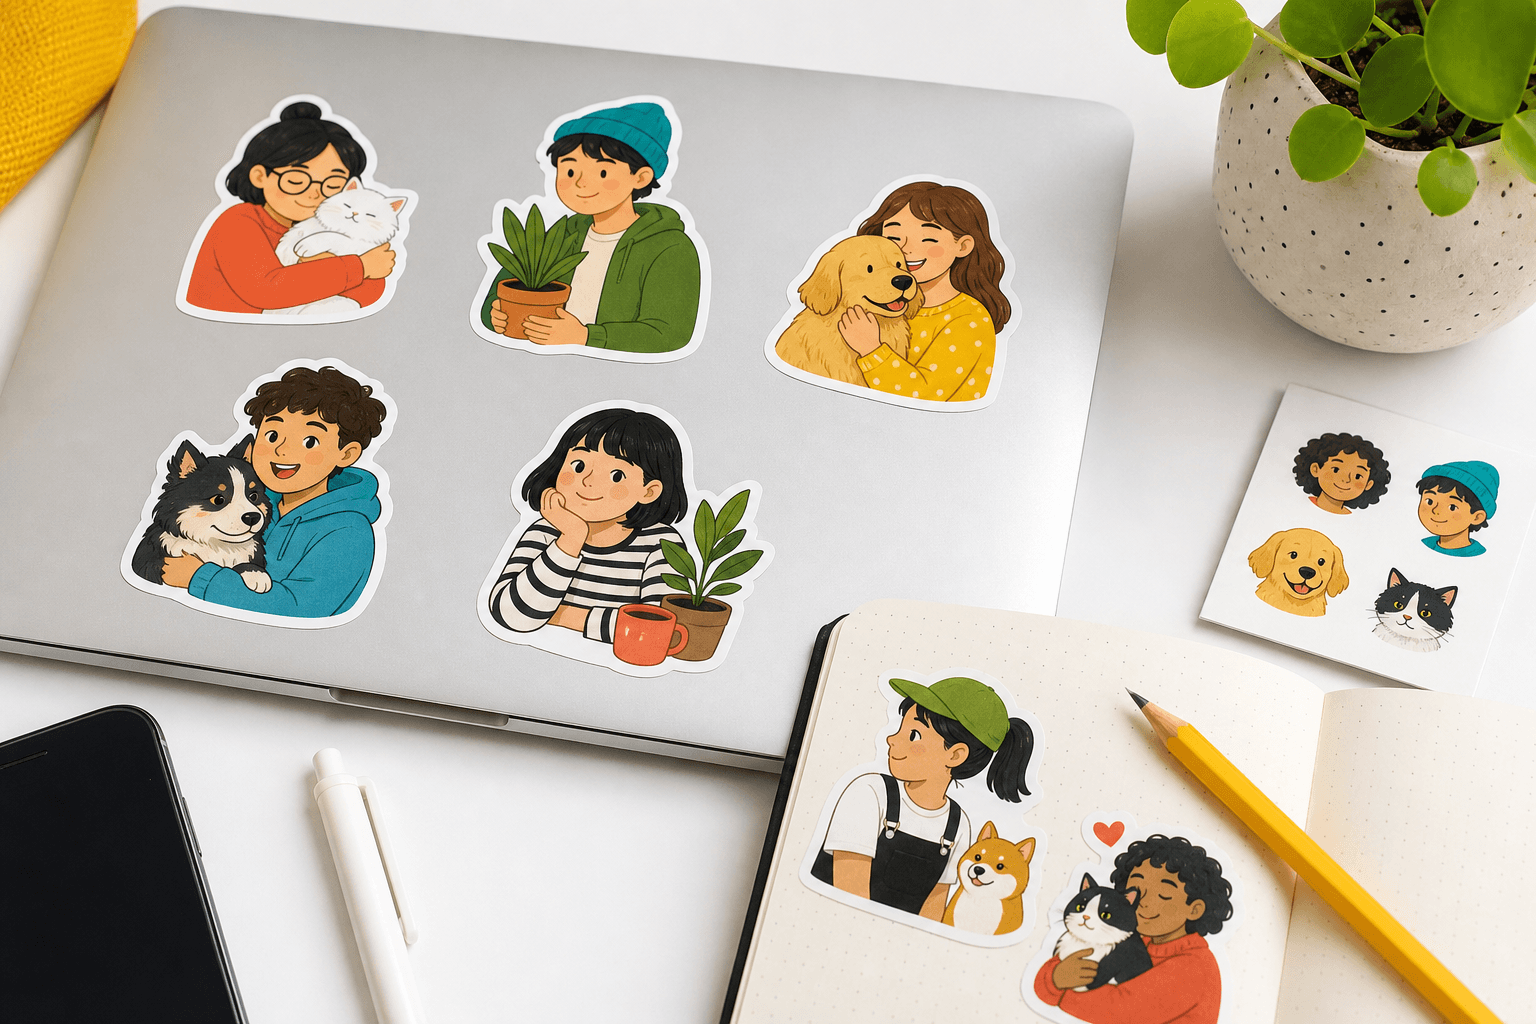
Stickers have a white border because it separates the subject from whatever is behind it. The border protects the silhouette on light, dark, and busy backgrounds, makes small details easier to read, and leaves a clear visual edge for digital use or later print preparation.
For a 512 × 512 digital sticker, 8px is the familiar WhatsApp starting reference. PhotoToSticker's browser-local instant tool offers Thin 10px, Standard 18px, and Bold 28px options. These are starting widths, not a rule that fits every photo or printer.
Which white-border width should you use?
| Starting width | Good first use | What to check |
|---|---|---|
| 8px | A WhatsApp-oriented 512px sticker | Keep the edge visible without crowding fine details. |
| 10px Thin | Small faces, hair, glasses, and detailed logos | Confirm thin strands do not disappear on a busy background. |
| 18px Standard | Most portraits, pets, and everyday reaction stickers | Check that the outline feels even around the full silhouette. |
| 28px Bold | Simple shapes or subjects that need stronger separation | Make sure the white edge does not overpower the expression. |
Those values assume a 512px canvas. For another canvas size, scale the starting
width in the same proportion: target width ÷ 512 × starting border. A 10px
border at 512px becomes about 20px on a 1024px master. Always judge the result at
its final display size instead of relying on the number alone.
See the border on a real source image
The first image is an authorized logo before local cleanup and outlining. The second is the same source after PhotoToSticker adds a transparent canvas and a clean white edge.


The comparison shows why a border is useful: the dark lettering and outer shape remain distinct without adding a card-like background. For your own work, use only photos, artwork, and marks you are allowed to edit.
The border protects the silhouette
People recognize a small sticker from its outer shape before they inspect facial details. Without a border, dark hair can disappear into a dark interface, while light clothing can merge with a white message surface. A white edge preserves a single readable silhouette in both conditions.
The effect is especially useful around irregular details such as hair, fingers, glasses, and props. Start with the narrowest option that keeps those details clear, then review three areas:
- Fine details: hair tips and fingers should not be buried.
- Tight gaps: spaces between an arm and the body should not become white clutter.
- Broad curves: shoulders and the top of the head should keep a smooth edge.
Small isolated holes are often less readable than a simplified continuous shape. At sticker size, clarity usually matters more than preserving every gap from the source photo.
Leave transparent breathing room
The white edge should not touch the image canvas. Transparent padding gives the border room, prevents clipping, and helps different poses feel like one pack. Compare a seated pose, a raised hand, and a wide celebration together instead of approving only the easiest crop.
For an authorized mark with lettering, the Logo Sticker Maker helps you compare a clean white edge before saving a transparent PNG. For a browser-local single-sticker layout, the Printable Sticker Maker lets you arrange artwork and export a 2048 × 2048 transparent PNG or a print PDF.
Test on white, black, gray, and a photo
Check the same sticker over white, black, a middle gray, and a busy photograph. Then reduce the preview to its likely display size. This reveals missing edge fragments, leftover background pixels, and borders that work only while zoomed in.
For printed stickers, the visible white edge and the physical cut path are related but not identical. A print service may require its own bleed and cut specifications. Keep an editable master and follow that service's instructions; the instant transparent PNG is not a printer-approved production file.