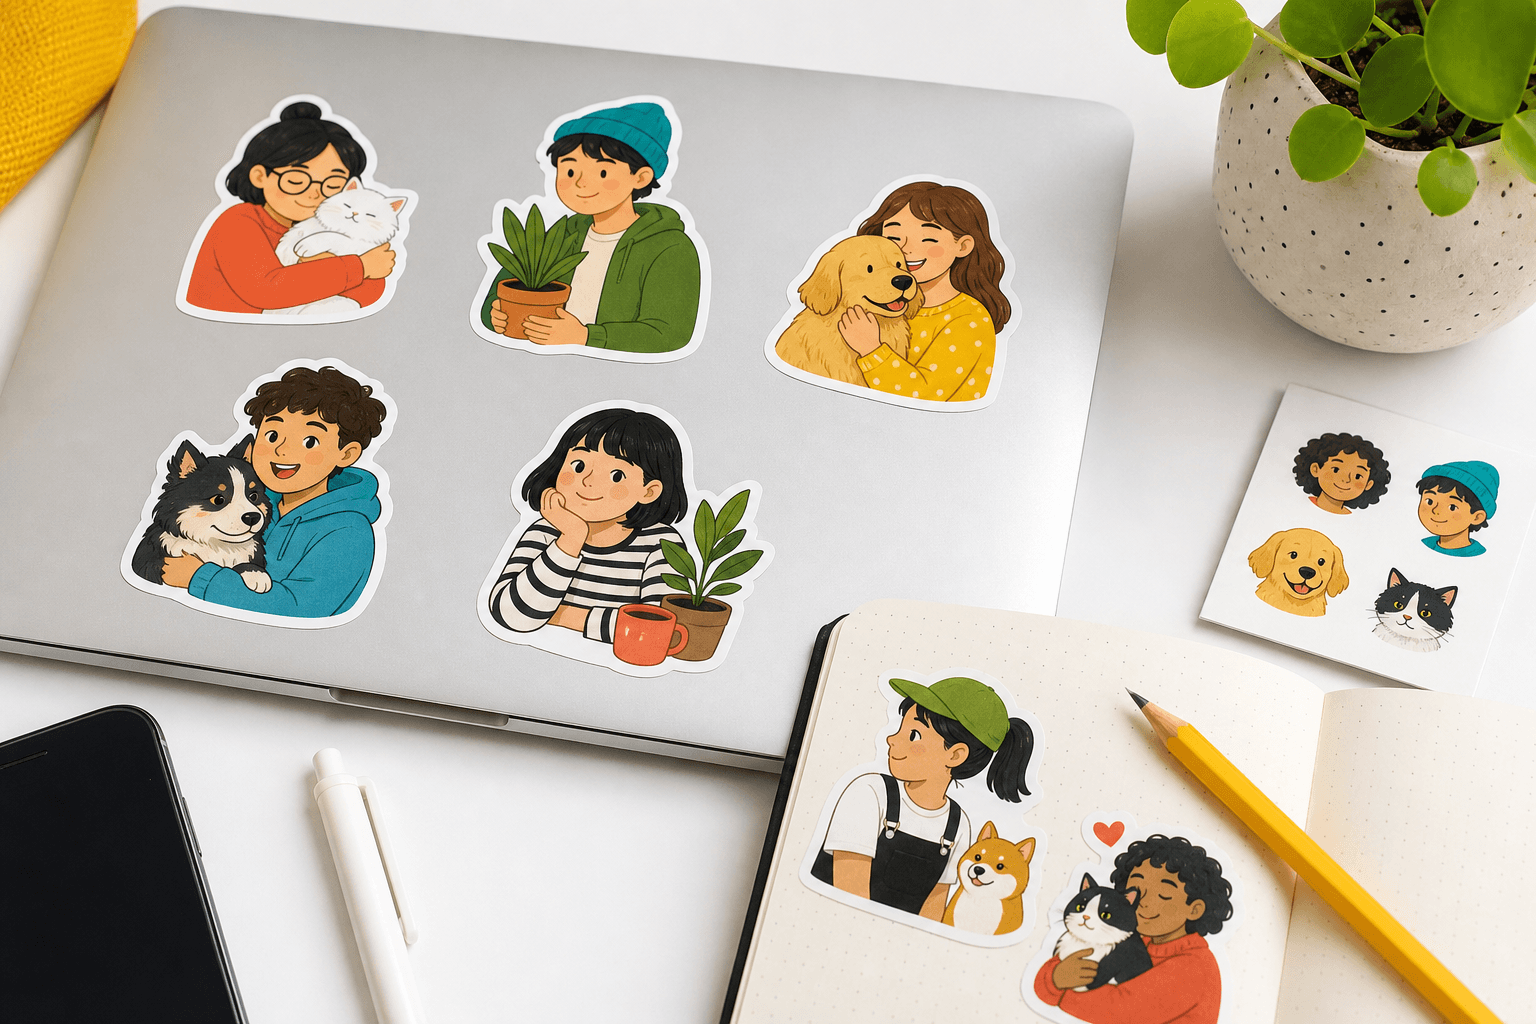
A sticker that looks good on screen is not automatically ready for a notebook or laptop. Physical output adds decisions about printed size, source resolution, material, cut shape, and the surface where the sticker will live.
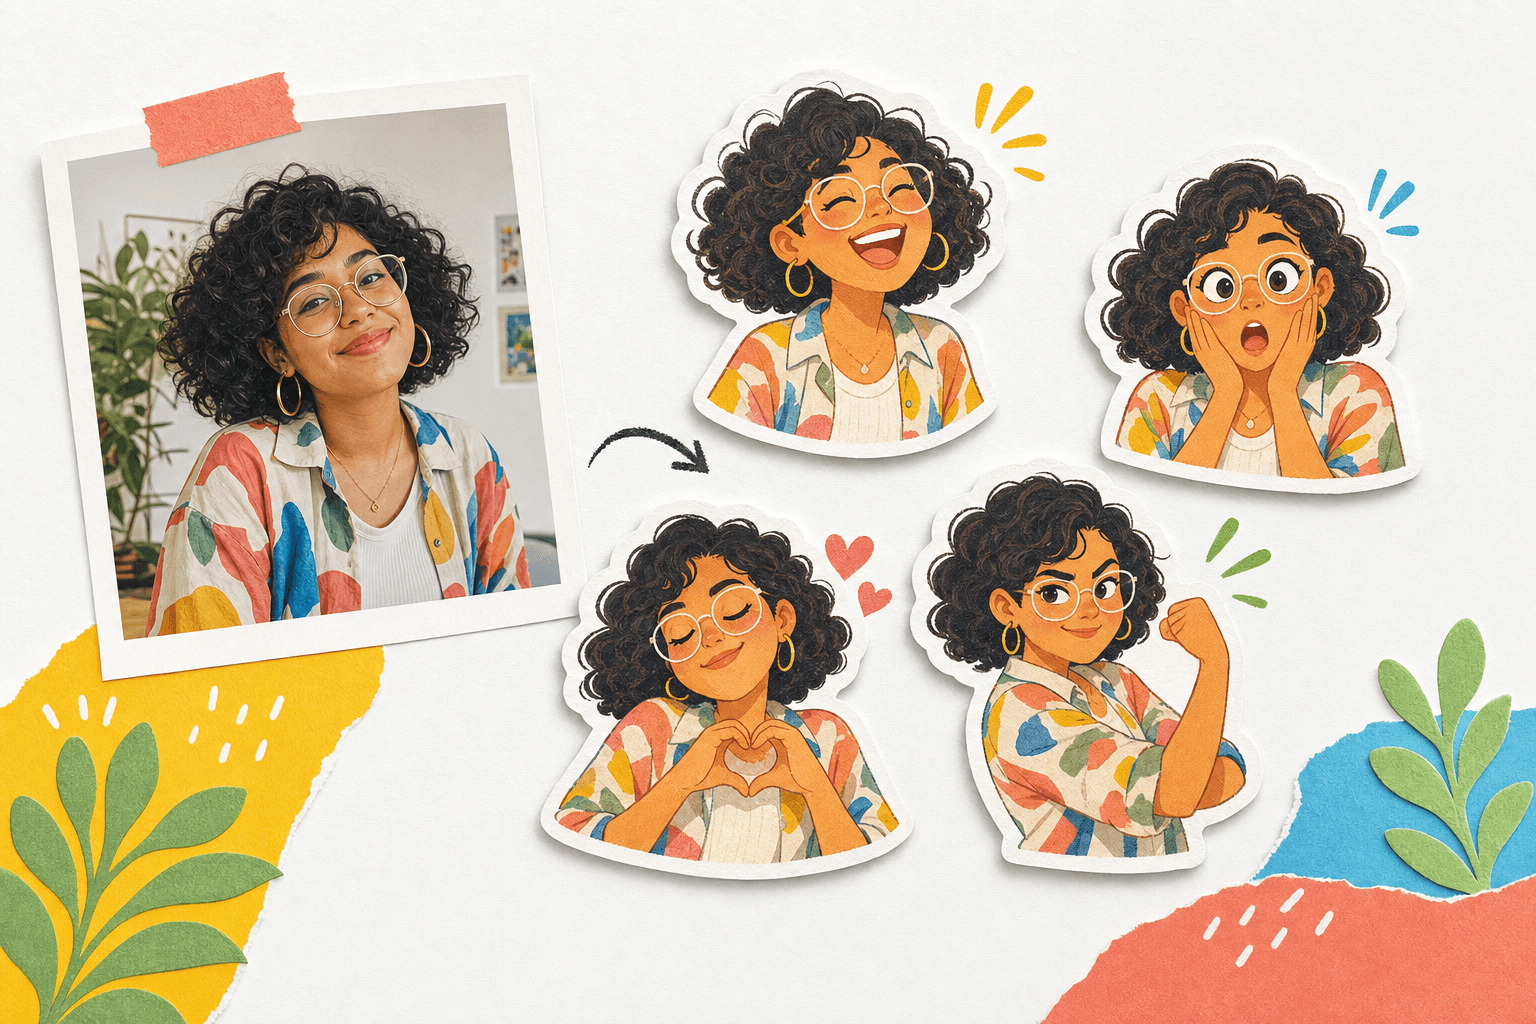
Printable Sticker Maker creates one browser-local 2048 × 2048 transparent PNG and a one-page print PDF with 3 mm bleed and a vector cut line. It does not send artwork to a printer. Use the steps below to prepare the downloaded artwork for your selected printing service.
Decide the physical size first
Choose where the sticker will go before resizing artwork. A small notebook accent may need a tighter crop than a laptop centerpiece. Measure the available area, then leave room around hinges, vents, ports, seams, and frequently handled edges.
Work backward from the final size. If the subject needs to be enlarged substantially, begin with a source photo that contains enough detail. Enlarging a small image cannot recreate missing facial information or clean hair edges.
Keep a larger master file
Build and review the cutout at a larger pixel size than the final delivery copy. Keep transparency, layers, and the border editable. From that master you can make a small notebook version and a larger laptop version without repeatedly resizing the same reduced file.
Inspect the artwork at both full view and close range. Look for leftover background pixels, rough curves, isolated transparent holes, and thin details that may break when cut.
Choose material for the actual surface
Paper can suit journal pages and indoor craft use. A more durable film may be a better match for a laptop that is carried and handled often. Finish also changes the result: matte surfaces reduce reflections, while glossy surfaces can deepen contrast but show stronger glare.
Material names and durability claims vary by supplier. Ask the printer about adhesive strength, removability, water exposure, surface compatibility, and the expected finish instead of assuming every product behaves the same way.
Separate the visible border from the cut path
The white border is part of the visual design. The cut path tells production equipment where the physical edge should be. Keep both smooth, avoid very narrow spikes, and simplify tiny gaps that could tear or cut poorly.
Printers may request extra image area beyond the final cut or a specific safety margin. Follow the selected service's setup guide and proof. There is no universal setting that replaces those instructions.
Plan placement before peeling
Clean and dry the surface according to its manufacturer's guidance. Arrange all stickers with their backing still attached, then check the composition from normal viewing distance.
For a laptop, keep stickers away from ventilation openings, ports, moving hinges, and labels that must remain visible. For a notebook, consider whether a raised edge will catch on a sleeve or neighboring page. Leave enough space between stickers so each silhouette can be read.
Order a small proof when possible
A proof reveals scale, color, edge quality, and material feel more reliably than a monitor. Test one or a few pieces before committing to a large sheet. Compare the proof with the intended surface, then adjust crop, border width, or size in the editable master.
The best physical sticker begins with a clear subject, but it succeeds through careful production choices. Resolution preserves detail, material matches the use, the cut line protects the shape, and deliberate placement lets the reaction remain visible in everyday life.