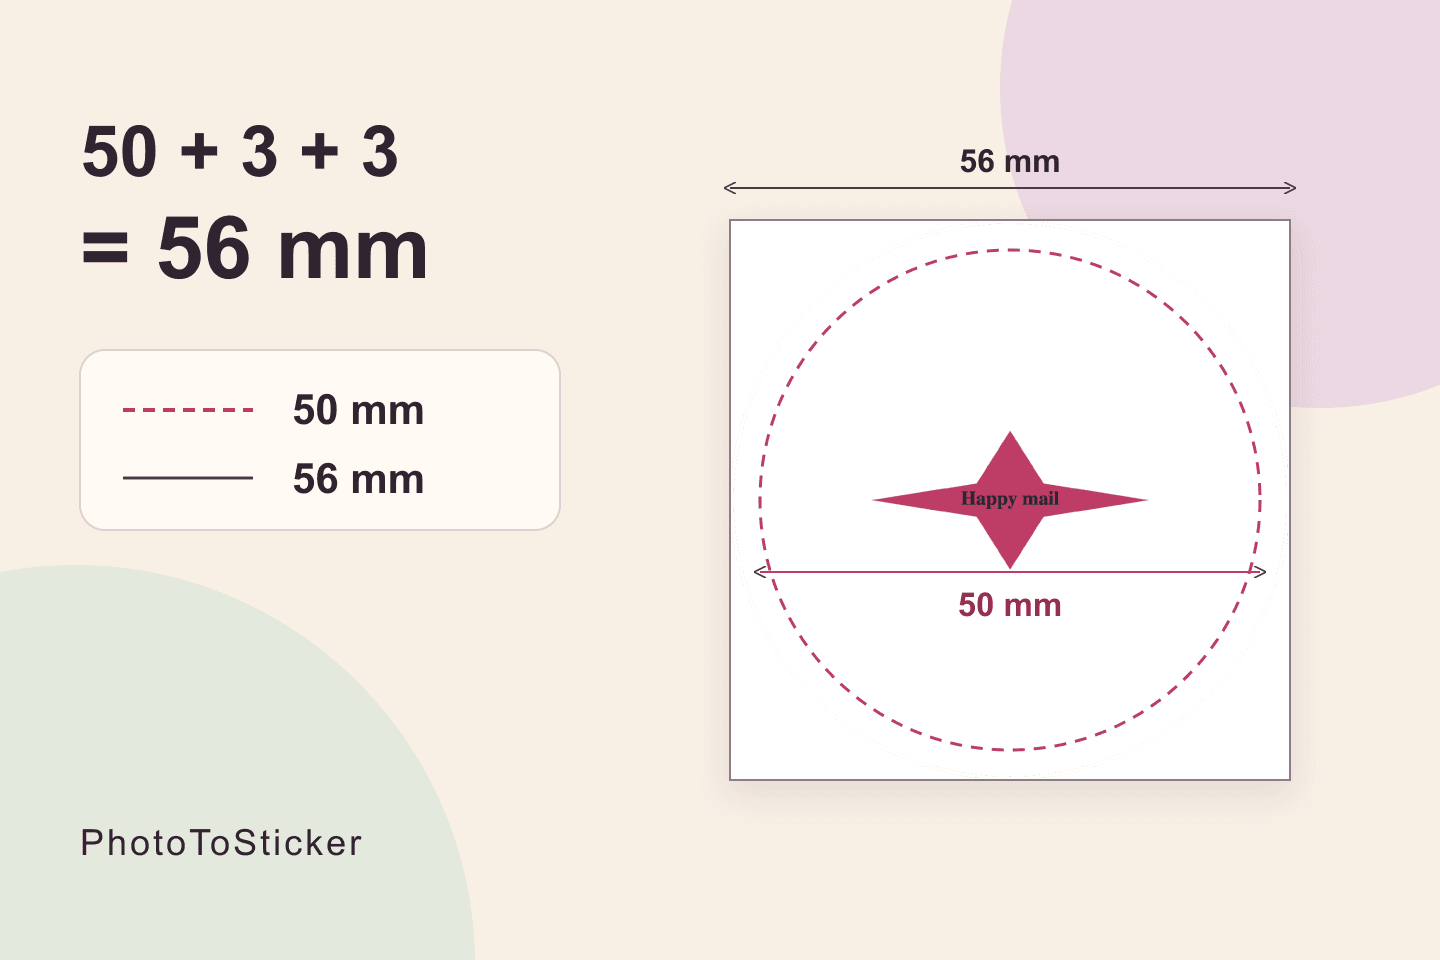
You entered 50 mm in Sticker Maker, but the downloaded PDF says 56 mm. Those numbers describe different boundaries: the intended finished size is 50 mm, while the PDF page includes an extra 3 mm on each side. The calculation is 50 + 3 + 3 = 56 mm.
Do not immediately resize the entire PDF to 50 mm. First tell the printer the intended finished size and the full page size. They need both to prepare the job correctly.
Read the page size separately from the finished size
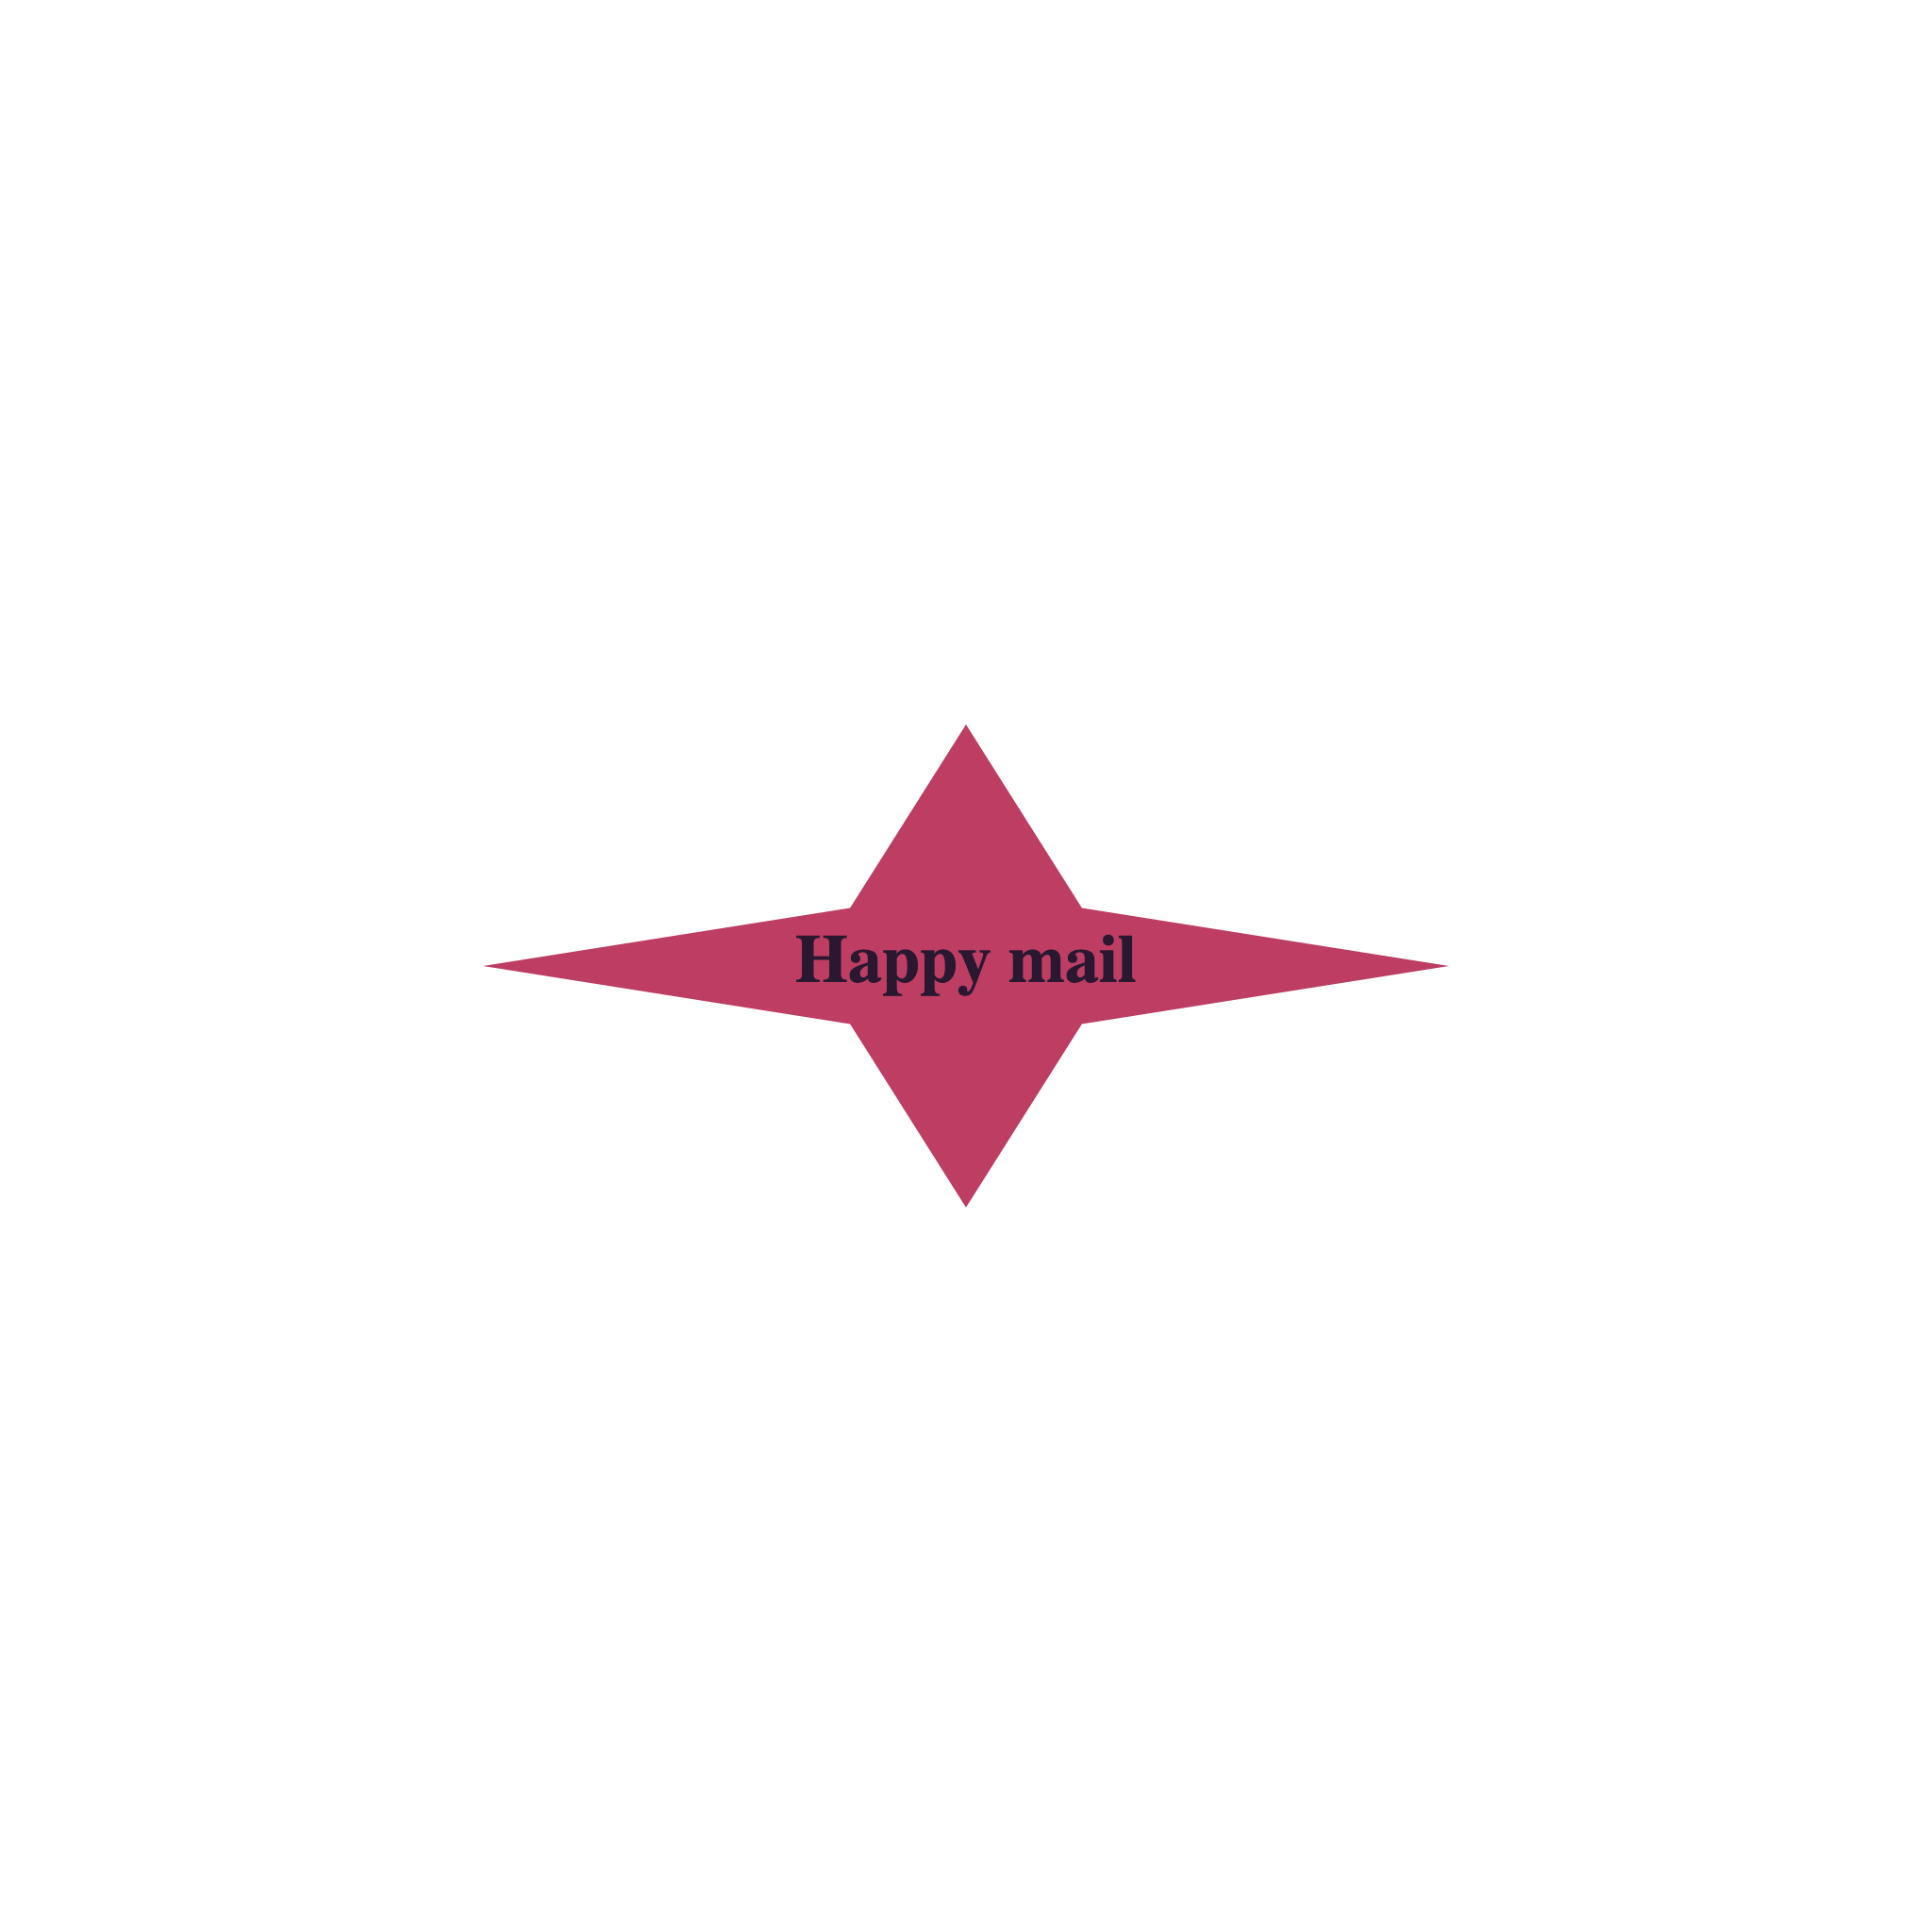
We opened Printable Sticker Maker, selected the Happy mail preset, clicked an empty part of the canvas, and set Print size (mm) to 50 under Design. This field sets both dimensions. From Download, we chose Download print PDF and also saved the matching PNG.
The real PDF is one 56 × 56 mm page. It is not an A4 or US Letter sheet of repeated stickers. The PNG is 2048 × 2048 pixels; those pixel dimensions do not replace a physical-size instruction to a printer.
| Boundary or setting | This example | What it means |
|---|---|---|
| Intended finished size | 50 × 50 mm, about 1.97 × 1.97 in | The size selected in the maker. |
| Export allowance | 3 mm on each side | Additional page extent around the intended finish. |
| Full PDF page | 56 × 56 mm, about 2.20 × 2.20 in | The dimensions a PDF viewer can report. |
A larger page is not proof of a production-ready bleed setup. The artwork still needs the printer's checks for coverage beyond the finished edge, safe placement and cutting instructions.
See what a whole-page resize changes
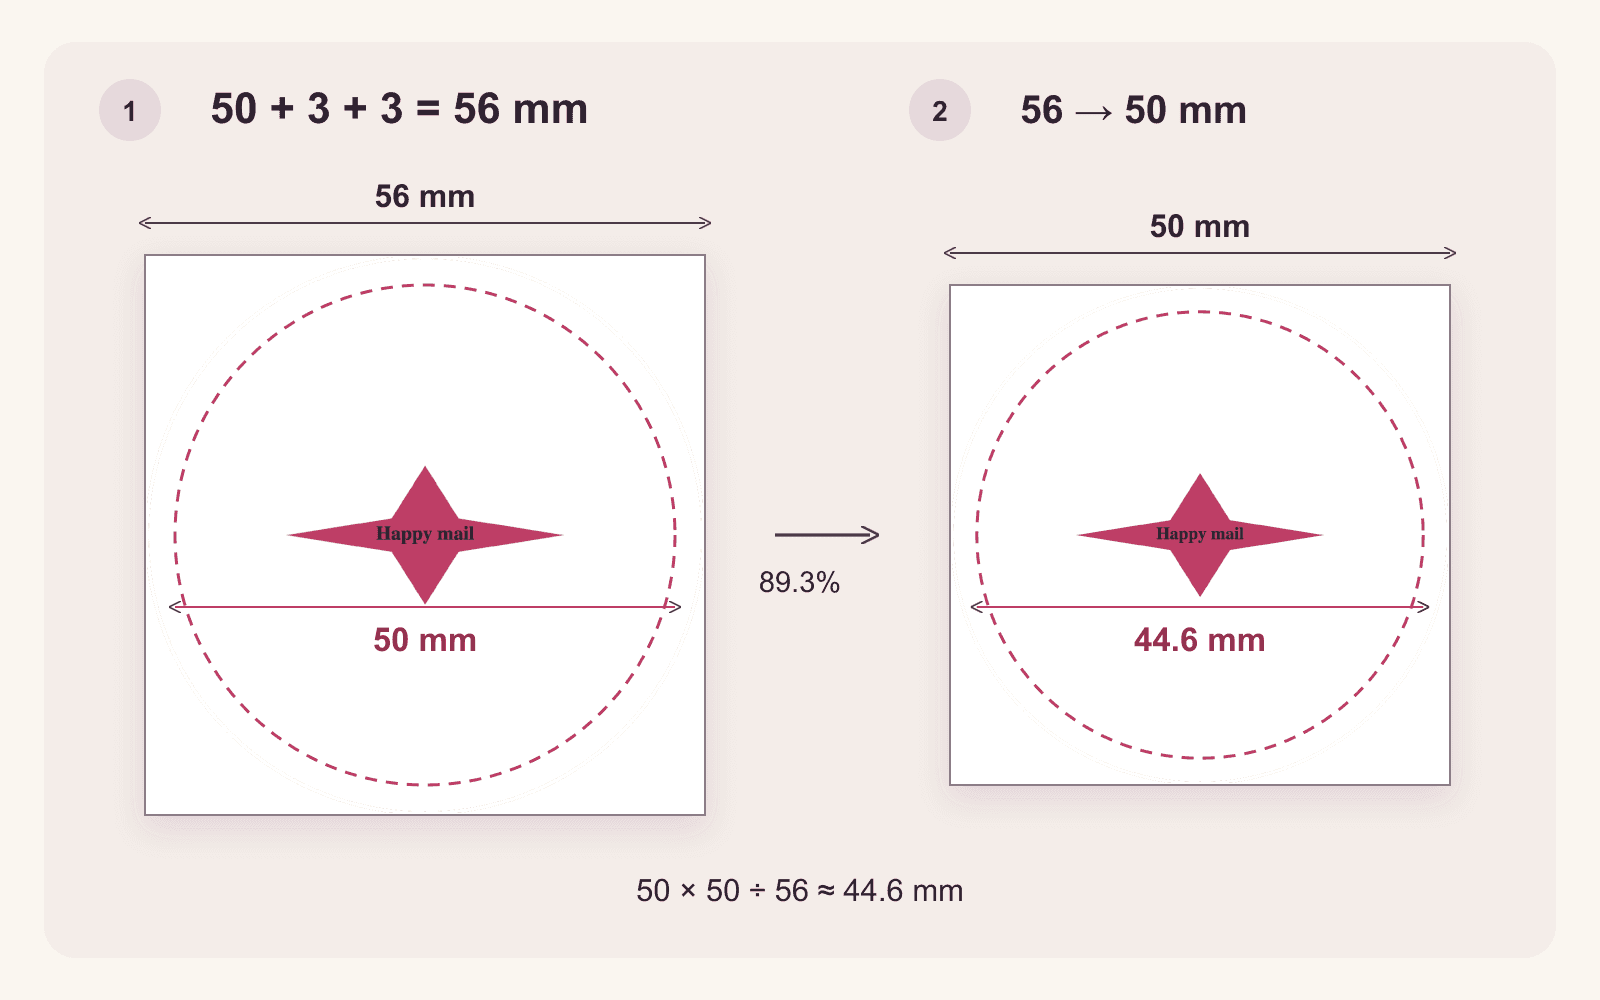
Original explanatory diagram, November 9, 2026. Panel 1 uses the actual digital export with an added dashed intended boundary; that dashed line is not in the downloaded PDF. Panel 2 is calculated, not a physical print test. The screen image is not a calibrated ruler.
Scaling a 56 mm page to 50 mm applies roughly 89.3% to everything. The intended 50 mm boundary would become about 44.6 mm: 50 × 50 ÷ 56. It changes the artwork as well as the surrounding area.
Download the actual sample PDF and matching PNG to inspect the files. The PDF has no separately defined TrimBox or BleedBox, and its rendered page has no visible cutting guide. The dashed circle above is our explanation, not a hidden feature to look for in your viewer.
Give the printer both dimensions
Send a short note with the file: “Intended finished size: 50 × 50 mm, circular design. Full supplied PDF page: 56 × 56 mm. Please confirm the finished boundary, accepted cut path and bleed requirements before production.”
A shop may request a specific page box, a separately prepared cutting path or a different bleed setup. Have the operator define and approve the finished boundary; do not ask them to cut along an invisible guide or the 56 mm square page edge. The sample is for inspection, not a universally ready-to-cut file.
For a home print size check, use a printer- or operator-supplied calibration page with visible marks of a known length. Choose paper supported by your printer, check its printable area and measure the printed marks. This sample's blank page edges cannot serve as a printed ruler.
Adobe explains the print scaling choices: Actual Size leaves scale unchanged but can clip content that does not fit. Fit can enlarge or reduce the page. Check both the app and the printer settings; 100% does not define a finished cut boundary or guarantee physical accuracy.
Before ordering more
Should I switch the paper setting to 56 mm? Only if the printer actually supports and contains that stock. The PDF page and the loaded output sheet are different choices. Select the real paper and have the file placed at the intended scale within its printable area.
Is 3 mm bleed always required? It is this maker's current export allowance. Follow the selected printer's requirements and approve a proof for size, edge coverage, color and material. This tool does not print or cut the sticker for you.
For source detail and material planning, read preparing laptop stickers for print. For the appearance of the edge, see white borders and cut paths. Keep the full PDF and the agreed finished-size note together so the next export starts with clear dimensions.