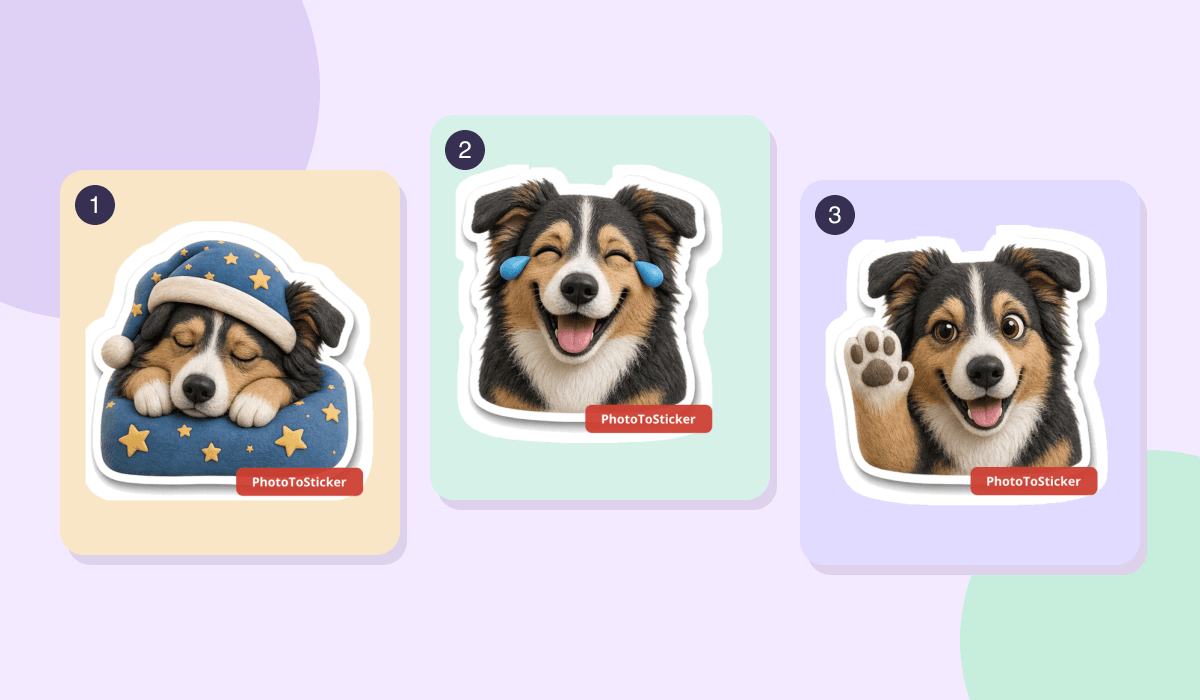
Save each reaction as its own image, then start the sticker pack creator from a linked copy of Signal Desktop. The creator assembles the files into a pack. A preview sheet is useful for choosing reactions, but it will not turn into several stickers when you add it as one image.
Put the separate files in one folder
For static stickers, use PNG or WebP. A 512 × 512 pixel canvas with a transparent background is a practical starting point. Signal recommends leaving about 16 pixels around the artwork and lists a 300 KB limit per sticker. Check the size of each saved file, not the total size of the folder. Keep a larger master if you expect to reuse the artwork.
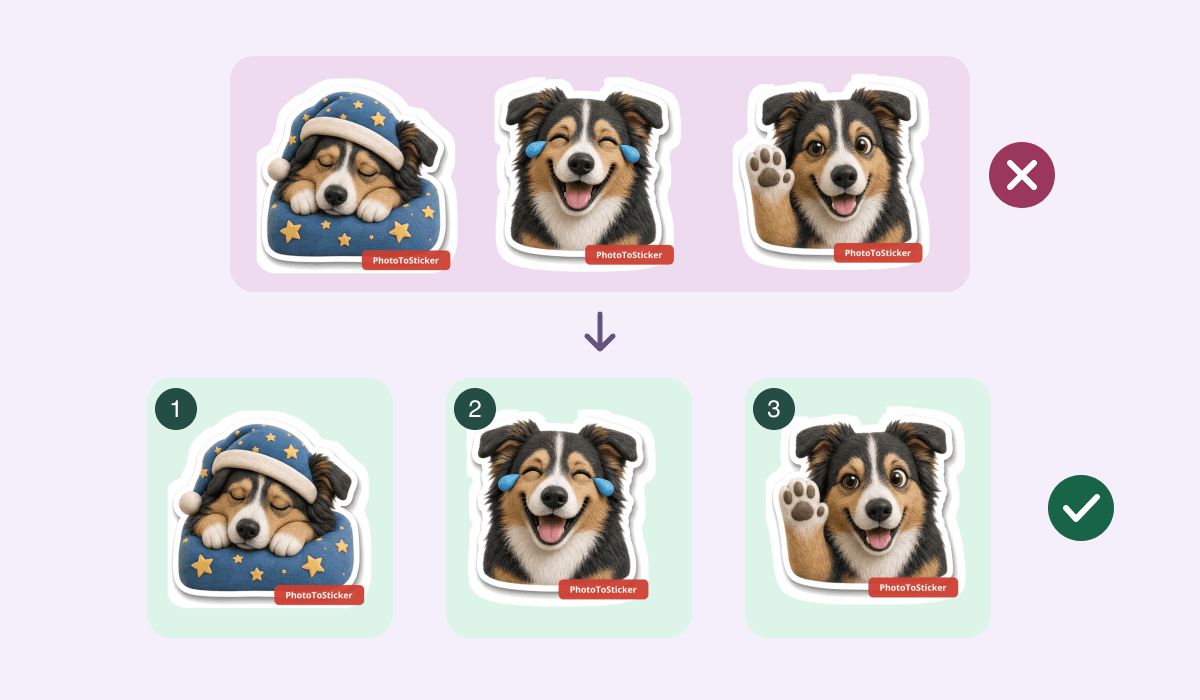
Original file-preparation diagram using our three actual WebP samples. The strip at the top is a preview. The separate images below are the files you would select. This is not a Signal screen.
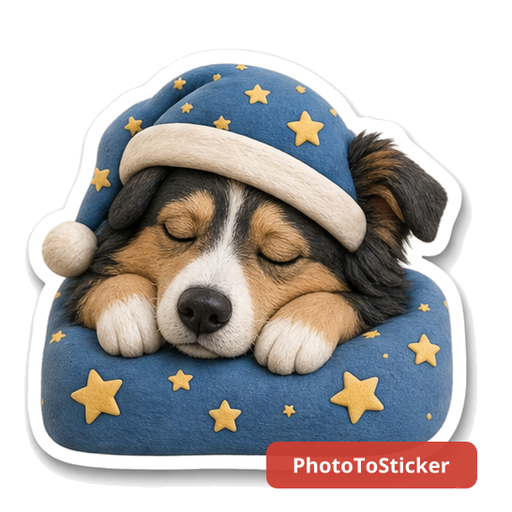
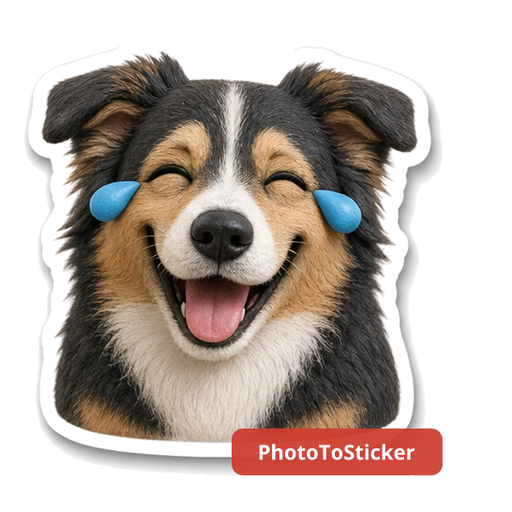
Try opening and saving these three sample images, rather than capturing the diagram. We made them from an earlier PhotoToSticker dog example by shrinking the artwork inside the canvas and exporting new transparent WebP files. The original watermarks remain. All three are 512 × 512 pixels and under 300,000 bytes; we verified the files, without uploading a pack to Signal.
| Example file | A useful chat moment | Emoji to try |
|---|---|---|
| Good night | Signing off after a long day | 😴 |
| Laughing | A joke that needs more than a “ha” | 😂 |
| High five | A friend has good news | 🙌 |
To make your own artwork, start in the photo sticker studio and save the individual image. You can also look through the real example gallery. If a saved PNG has a white box or looks unexpectedly solid, check the transparency of the file itself. If it is over the size limit, export a smaller transparent file from an image editor and inspect the result. Renaming a PNG to WebP does not convert it.
Start the pack from Signal Desktop
Follow Signal's official sticker creator guide for your linked desktop app.
- From the File menu, choose Create/upload sticker pack. This opens the pack creator.
- Select the individual images. You can select several files together; the important part is that each reaction remains its own file. Reorder them and check how each looks on both light and dark backgrounds.
- Continue and choose one emoji for each sticker. Pick something you would actually type for that reaction rather than using one emoji for every image.
- Enter a title and author. Check the cover; the creator can start with the first sticker. Review everything before confirming the upload.
PhotoToSticker prepares the images. The pack and its share link are made in Signal's creator.
Review what someone else can see
Signal's help says anyone who receives even one sticker from the pack, or gets its link, can view the pack and its title and author. Use images you have permission to share, and write a credit you are comfortable showing. If one image is appropriate for a small group and another is not, leave the second one out of that pack.
Check spelling and order now. Signal says you cannot edit or delete the uploaded pack. Removing it from your own sticker list is not the same as taking it away from recipients.
Install the pack and share it deliberately
After upload, look for the pack in Signal Desktop’s sticker list. Confirm installation if your version prompts you. If you want someone else to install it, share the pack link or send an appropriate sticker. On a phone, a recipient can open a received sticker to view the pack and install it. Follow the official guide if the controls differ on your device.
Keep the original image folder. If you later want different artwork or credit, you can use those files to build a new pack rather than trying to edit the old one.